Green Beans with Mushrooms are the absolute pinnacle of simple, elegant side dishes that bring a high-end steakhouse experience right to your home kitchen. This recipe transforms humble emerald green beans and earthy cremini mushrooms into a vibrant, umami-packed masterpiece using a cast iron sear and a translucent garlic butter glaze. Whether you are prepping for a holiday feast or a quick weeknight dinner, these Green Beans with Mushrooms deliver a perfect tender-crisp texture and a savory depth that pairs beautifully with almost any protein.
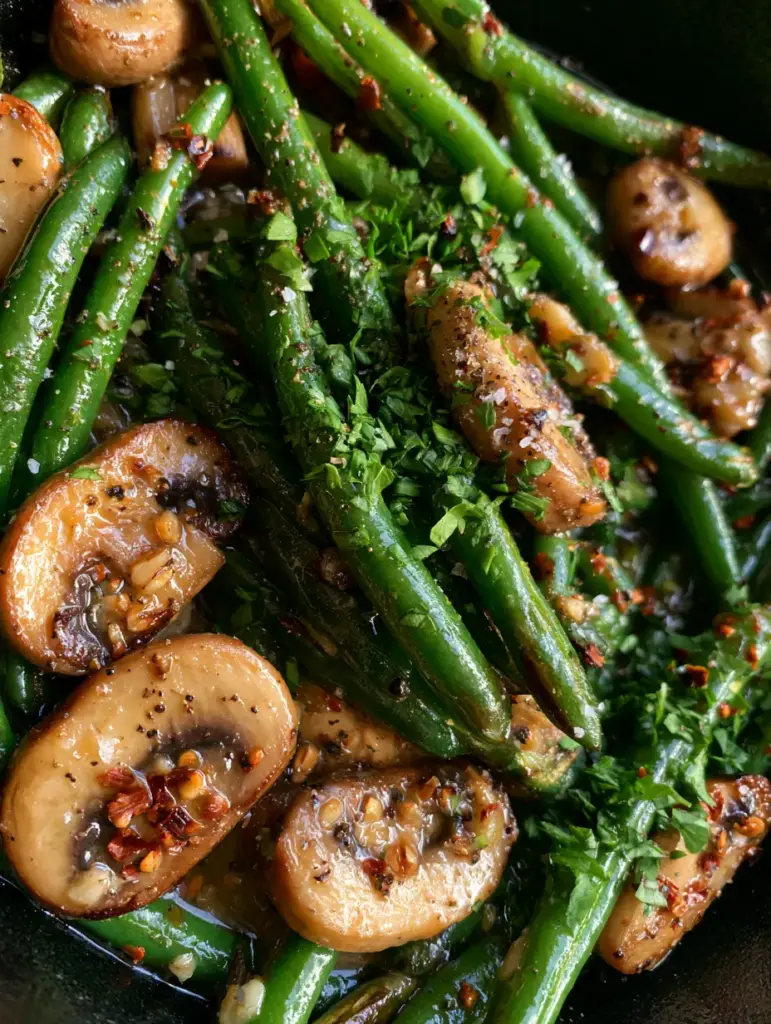
The secret to this dish lies in the blistered green beans and the golden-brown seared mushrooms. By using high heat and a matte black cast iron skillet, we achieve those coveted char marks that signify deep flavor development. The addition of browned minced garlic bits and a hint of crushed red pepper flakes creates a sophisticated profile that is far superior to any canned alternative. You will love how the coarse sea salt and cracked black pepper make every bite pop with flavor.
Why You Will Love This Blistered Green Bean Recipe
- Visual Masterpiece: The contrast between the vibrant emerald green beans and the golden-brown cremini mushrooms is stunning on any plate.
- Perfect Texture: We avoid mushy vegetables by focusing on a tender-crisp finish that maintains a satisfying snap.
- Flavor Explosion: A translucent garlic butter glaze coats every inch, infused with red pepper flakes for a gentle heat.
- Quick & Professional: This restaurant-quality side dish takes less than 20 minutes from prep to table.
The Essential Ingredients for Gourmet Green Beans with Mushrooms
To achieve the Visual Recipe Blueprint we are aiming for, ingredient quality is paramount. Here is what you will need for these Green Beans with Mushrooms:
- Fresh Green Beans: Use 1 pound (454g) of fresh beans. Look for emerald green pods that snap easily when bent. Trim the ends but leave them whole for a rustic look.
- Cremini Mushrooms: 8 ounces (227g) of thick-sliced cremini (also known as baby bellas). These provide a deeper, meatier flavor than white button mushrooms.
- Unsalted Butter: 3 tablespoons (42g) of high-quality butter. This creates the translucent garlic butter glaze that makes the dish glisten.
- Fresh Garlic: 4 cloves, minced. You want those browned minced garlic bits to be visible and fragrant.
- Crushed Red Pepper Flakes: 1/2 teaspoon for a subtle, warming kick that cuts through the rich butter.
- Coarse Sea Salt & Cracked Black Pepper: These provide essential texture and seasoning. Use freshly cracked pepper for the best aromatic impact.
- Fresh Parsley: A generous dusting of finely chopped flat-leaf parsley adds a final pop of color and freshness.
- Extra Virgin Olive Oil: 1 tablespoon (15ml) for the initial high-heat sear to prevent the butter from burning.
If you are looking for a hearty main course to follow this side dish, consider our Green Enchilada Chicken Soup for a vibrant, flavorful meal. For something even more comforting, this side pairs exceptionally well with our Bean Soup with Bacon and Pearl Couscous.
Step-by-Step Instructions: Mastering the Sear
Step 1: The Mushroom Brown Event
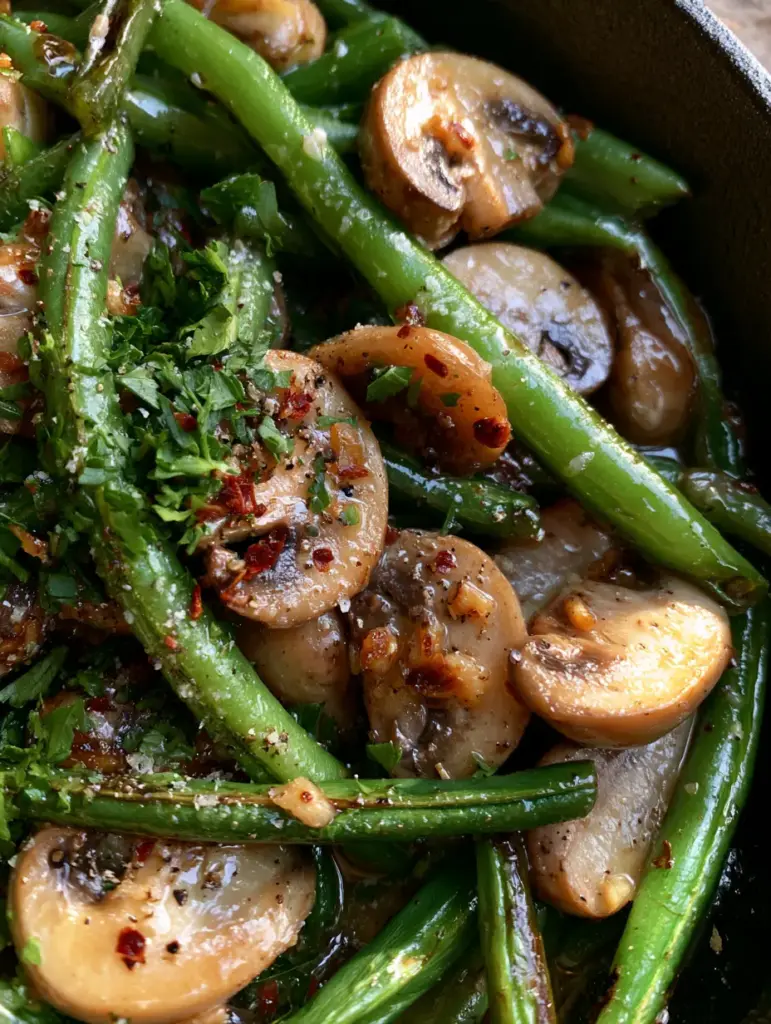
Start by heating your matte black cast iron skillet over medium-high heat. Add the olive oil. Once shimmering, add the thick-sliced cremini mushrooms in a single layer. Do not stir them immediately. To get that golden-brown perfection, the mushrooms need direct contact with the heat for 3-4 minutes to release their moisture and caramelize. Once browned, flip and cook for another 2 minutes, then remove them from the skillet and set aside.
Step 2: Blistering the Emerald Green Beans
In the same hot skillet, add the emerald green beans. If the pan looks dry, add a tiny splash of oil. Spread them out and let them sit undisturbed for 2-3 minutes. You are looking for slight char marks and a slight softening of the skin. Toss them occasionally until they reach a tender-crisp texture. This high-heat method ensures they stay vibrant rather than turning a dull olive color.
Step 3: The Garlic Butter Infusion
Reduce the heat to medium. Push the beans to the side and add the unsalted butter to the center of the pan. Once melted and bubbling, add the minced garlic, crushed red pepper flakes, coarse sea salt, and cracked black pepper. Stir the garlic in the butter for about 60 seconds until you see browned minced garlic bits. The butter should look glistening and translucent.
Step 4: The Final Toss & Garnish
Return the seared mushrooms to the skillet. Toss everything together for 1-2 minutes so the garlic butter glaze coats every bean and mushroom slice. The Green Beans with Mushrooms should be aromatic and glowing under the light. Remove from heat and immediately garnish with a generous dusting of finely chopped fresh parsley.
Expert Tips for Success
- Dry Your Vegetables: Ensure the green beans and mushrooms are completely dry before they hit the pan. Excess water leads to steaming instead of searing.
- Don’t Overcrowd: If your skillet is small, sear the mushrooms in two batches. Overcrowding prevents the golden-brown crust from forming.
- Cast Iron is King: A cast iron skillet retains heat better than stainless steel, which is crucial for achieving those authentic char marks.
- Butter Timing: Always add the butter at the end. If added too early, the milk solids will burn before the beans are fully blistered.
Storage, Reheating & Freezing
Storage: Place leftover Green Beans with Mushrooms in an airtight container and refrigerate for up to 3-4 days. The flavors actually deepen overnight!
Reheating: For the best results, reheat in a skillet over medium heat with a tiny pat of butter to restore the glistening glaze. Avoid the microwave if possible, as it can make the beans rubbery.
Freezing: We do not recommend freezing this dish. The cellular structure of the green beans breaks down when frozen, resulting in a loss of that signature tender-crisp texture upon thawing.
What to Serve With This Dish
These Green Beans with Mushrooms are incredibly versatile. They are the perfect companion to a heavy Ethiopian Beef Stew or a creamy Chicken Corn Chowder. If you are hosting a brunch, these savory greens provide a great contrast to a Cheesy Bacon Potato Breakfast Casserole.
Frequently Asked Questions
Yes! Simply swap the unsalted butter for a high-quality vegan butter or increase the amount of extra virgin olive oil for a delicious plant-based version.
We do not recommend canned beans. Canned beans are already soft and won’t achieve the necessary blistered texture or tender-crisp snap required for this gourmet side dish.
The key is high heat and short cooking time. Searing them quickly in a hot cast iron skillet blisters the skin without overcooking the interior, preserving the bright chlorophyll.
Mushrooms become soggy if the pan is overcrowded or if they are stirred too early. Give them space and let them sear undisturbed to develop a golden-brown crust.
The H1 Title From The Article
Ready to create this restaurant-quality side dish? Follow the precise measurements below to achieve the blistered, buttery perfection seen in our photos.
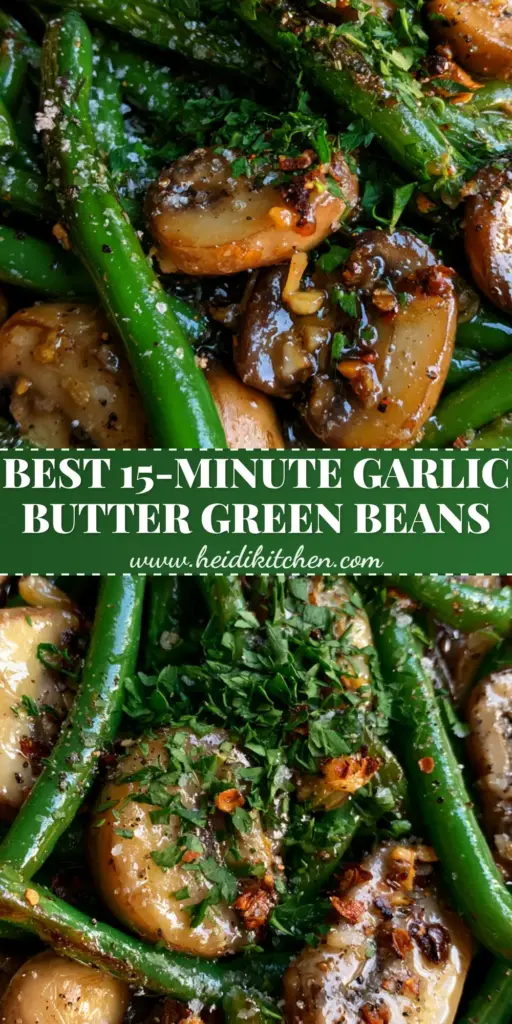
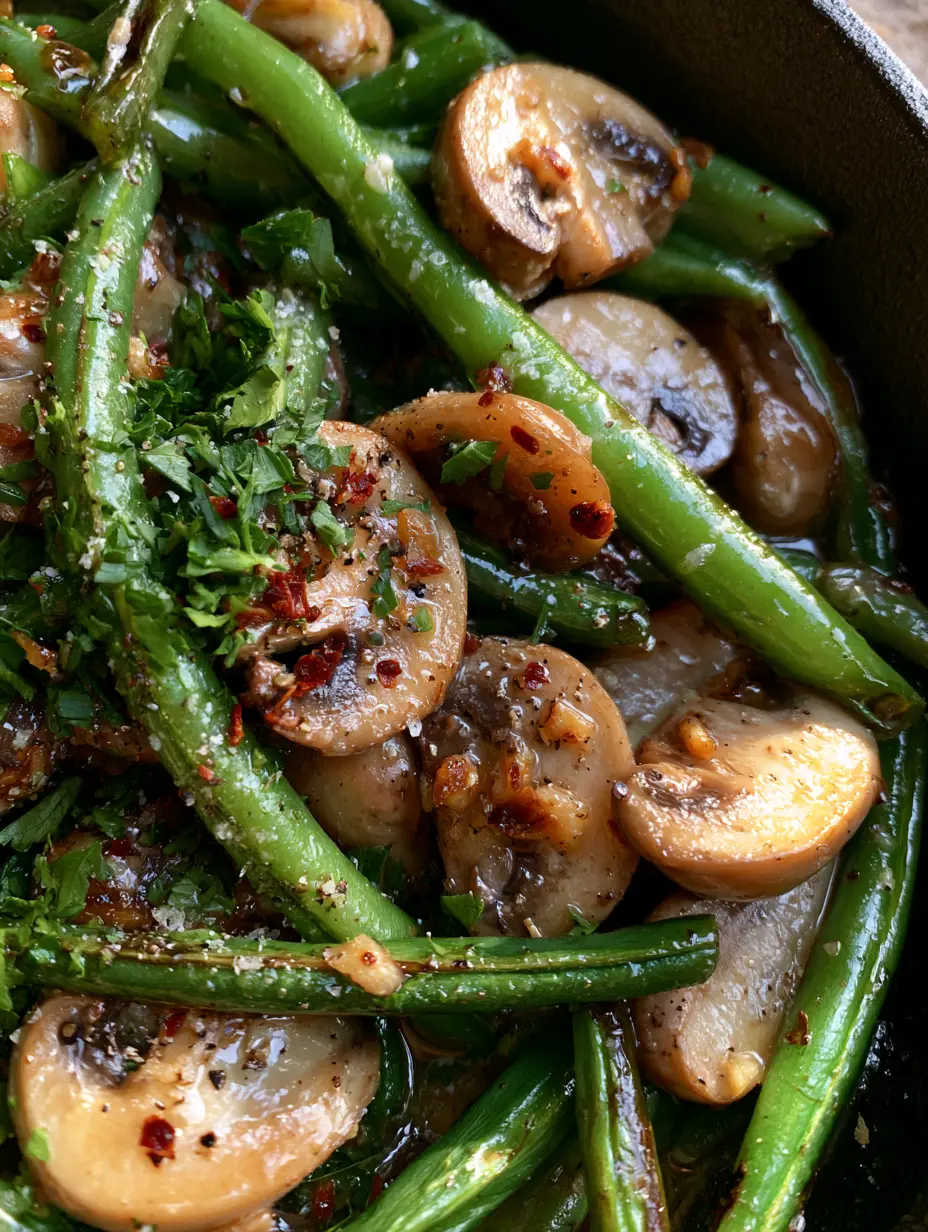
Green Beans with Mushrooms: The Ultimate Garlic Butter Side Dish
Ingredients
Equipment
Method
- Heat olive oil in a cast iron skillet over medium-high heat. Add sliced cremini mushrooms and sear for 3-4 minutes without stirring until golden-brown. Flip and cook for 2 more minutes. Remove and set aside.
- Add green beans to the hot skillet. Cook for 5-6 minutes, tossing occasionally, until they show slight char marks and reach a tender-crisp texture.
- Reduce heat to medium. Add butter, minced garlic, red pepper flakes, salt, and pepper. Sauté for 60 seconds until garlic is fragrant and browned.
- Return mushrooms to the pan. Toss to coat in the translucent garlic butter glaze. Garnish with fresh parsley and serve immediately.
Notes
Use a high-quality butter for the most flavorful translucent glaze.
Save, Share & Rate!
If you loved these Green Beans with Mushrooms, please save this recipe to your Pinterest boards so you never lose it! Our community at pantry_dream thrives on your feedback. Please share a photo of your blistered beans in the comments below and don’t forget to leave a 5-star rating if this became your new favorite side dish. Happy cooking!