Caramel Apple Grapes are the viral, bite-sized sensation that delivers all the nostalgic flavors of a classic caramel apple without the mess or the effort. Imagine a large, crisp green grape bursting with juice, enveloped in a thick glossy amber caramel dip, and finished with a crunchy layer of finely crushed toasted peanuts and a pinch of flaky sea salt. These tiny treats are not just delicious; they are a visual masterpiece, perfect for your next gathering or a cozy night in.
If you have been searching for a snack that balances sweetness, saltiness, and a satisfying crunch, these Caramel Apple Grapes are the answer. Whether you’re a seasoned host or a busy parent, this recipe is designed for maximum impact with minimal stress. Best of all, they look like professional catering gems when served on a rustic dark wood board with minimalist bamboo knot skewers.
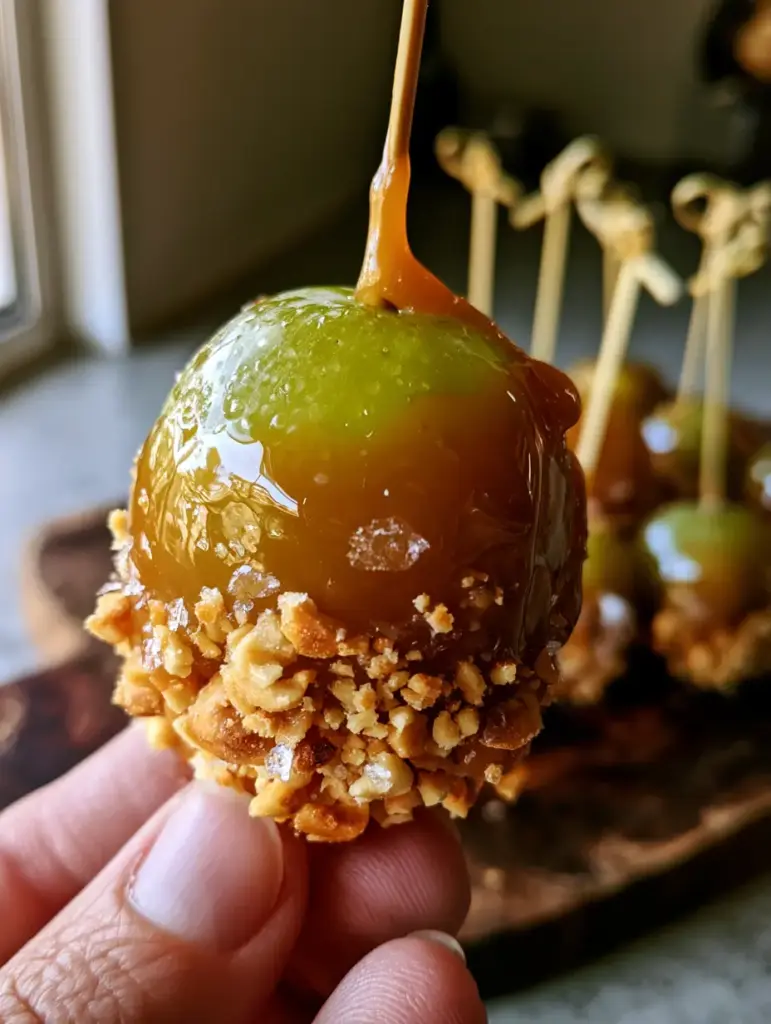
Why You Will Obsess Over These Gourmet Mini Caramel Apples
- The Perfect Texture Contrast: You get the snap of the cold grape, the chew of the glossy amber caramel, and the shatter of toasted peanuts.
- Viral Visual Appeal: These are optimized for Pinterest engagement, featuring sparkling sea salt flakes that catch the light beautifully.
- Portion Controlled: All the flavor of a caramel apple in a single, elegant bite.
- Make-Ahead Friendly: Prepare these a few hours before your party to let the caramel set into that perfect, heavy-drip consistency.
For more caramel-infused treats, you might also love my salted caramel white chocolate cookies which share that same addictive sweet-and-salt profile.
Essential Ingredients for Success
To achieve the forensic visual accuracy seen in our photos, the quality of your ingredients matters. Each component plays a vital role in the final flavor profile and the “Pinterest-worthy” aesthetic.
- Large Green Grapes: Choose the largest, firmest seedless grapes you can find. The slight tartness of a green grape perfectly cuts through the sugar of the caramel.
- High-Quality Caramel Bits or Squares: We recommend using real caramel that melts into a thick, translucent amber. Avoid thin syrups; we want a coating that clings.
- Heavy Cream: Just a splash ensures the caramel remains soft enough to bite without sticking to your teeth.
- Toasted Peanuts: Finely crushed toasted peanuts provide the golden hue and the earthy crunch that defines the “apple” experience.
- Flaky Sea Salt: Use Maldon or a similar brand to get those tiny flakes of sparkling sea salt that enhance every other flavor.
- Bamboo Knot Skewers: These are essential for the minimalist, rustic aesthetic and make for easy, germ-free grabbing at parties.
If you have leftover fruit, consider using them in my air fryer cinnamon apple rings for another quick and healthy snack option.
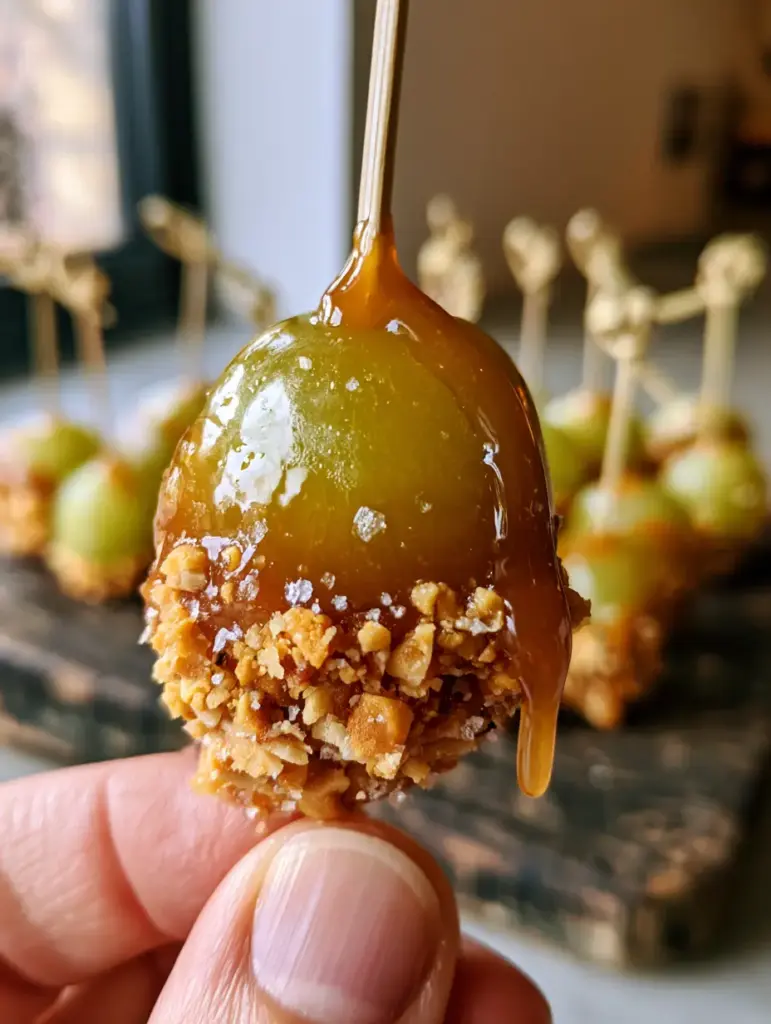
Step-By-Step: Mastering the Perfect Caramel Dip
1. Prepping the Fruit for Maximum Adhesion
The most common mistake when making Caramel Apple Grapes is dipping wet fruit. Caramel will slide right off a damp grape. Wash your large crisp green grapes thoroughly, then pat them dry with a lint-free towel. For the best results, let them air dry on a rack for 20 minutes before starting. Once dry, pierce the stem end of each grape with a bamboo knot skewer.
2. Melting to a Glossy Amber Finish
In a small, microwave-safe bowl or a double boiler, combine 11 oz (310g) of caramel bits with 2 tbsp (30ml) of heavy cream. Heat in 30-second intervals, stirring vigorously between each. You are looking for a thick, glossy, translucent amber caramel that is smooth and free of lumps. If it’s too thick, add cream by the teaspoon until it reaches a “slow, heavy drip” consistency.
3. The Precision Dipping Technique
Hold the bamboo knot skewer and dip the grape halfway into the warm caramel. Rotate it slowly to ensure an even coat. Lift the grape and let the excess caramel fall back into the bowl until it forms that iconic slow, heavy drip. Immediately press the bottom of the caramel coating into a shallow bowl of finely crushed, golden-toasted peanuts.
While the caramel is still tacky, sprinkle a few tiny flakes of sparkling sea salt over the peanuts. Place the finished grape on a parchment-lined tray or a rustic dark wood serving board to set.
4. The Final Chill
Place the tray in the refrigerator for at least 15-20 minutes. This ensures the caramel sets firmly enough to be handled but remains soft enough for a luxurious mouthfeel. Serving them slightly chilled enhances the “snap” of the green grape skin.
Expert Tips for Pinterest-Perfect Results
- Room Temp Grapes: While the final product is served chilled, dip the grapes at room temperature to prevent the caramel from seizing too quickly.
- Pulse, Don’t Grind: When preparing the peanuts, pulse them in a food processor until they are finely crushed but not a powder. You want visible golden-toasted pieces for texture.
- The Skewer Angle: Insert the bamboo knot skewer only halfway into the grape to ensure it stays secure during the dipping and enrobing process.
- Double Down on Flavor: If you love the combination of fruit and warm spices, try serving these alongside a cinnamon apple baked French toast casserole for a stunning brunch spread.
Storage, Reheating & Freezing
Storage: These Caramel Apple Grapes are best enjoyed the day they are made. However, you can store them in an airtight container in the refrigerator for up to 24 hours. Place a sheet of parchment paper between layers to prevent sticking.
Reheating: Do not reheat! These are intended to be served cold or at room temperature. If the caramel becomes too hard in the fridge, let them sit on the counter for 10 minutes before serving.
Freezing: We do not recommend freezing this recipe. The water content in the grapes will cause the caramel to separate and become grainy upon thawing.
What to Serve With This Recipe
These treats are versatile! They work beautifully as a sophisticated dessert garnish or a standalone snack. If you are hosting a fall-themed party, serve them alongside a warm bowl of raspberry shortbread bars for a variety of textures. They also provide a sweet counterpoint to savory dishes like a hearty stew or soup during the colder months.
Frequently Asked Questions
Absolutely! While toasted peanuts are classic, crushed pecans, walnuts, or even toasted coconut work beautifully for a different flavor profile.
No, standard caramel sauce is usually too thin and will not set properly. You must use caramel bits or squares melted with a little cream to achieve a thick, dipping consistency.
They are best served within 4-6 hours, but they can stay fresh in the refrigerator for up to 24 hours. After that, the grapes may start to release moisture, softening the caramel.
Large, firm green seedless grapes (like Thompson or Autumn Crisp) are best because their tartness balances the sweet caramel and they hold their shape well.
This usually happens if the grapes are even slightly damp. Ensure your grapes are bone-dry and at room temperature before dipping into the warm caramel.
The Complete Caramel Apple Grapes Recipe
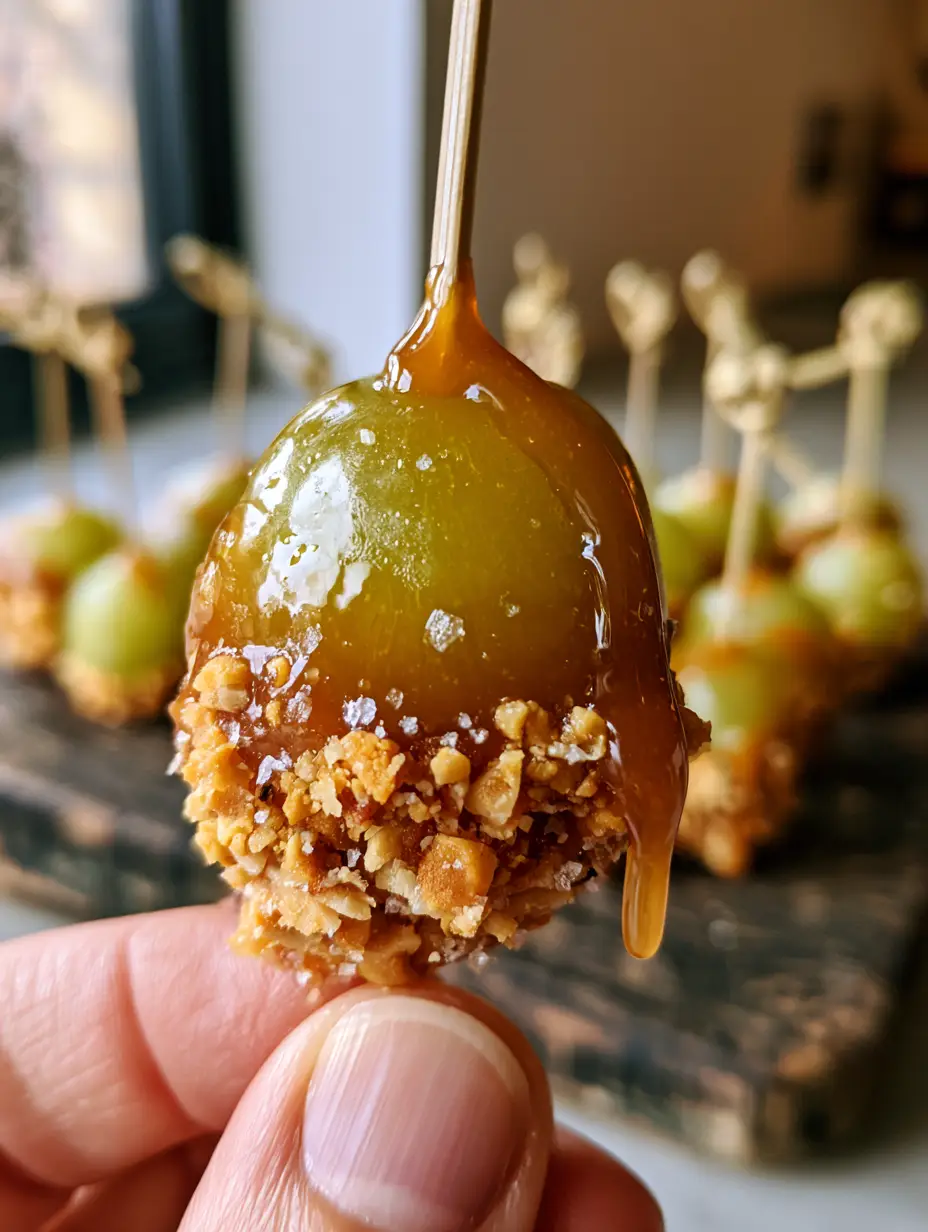
Caramel Apple Grapes Recipe: The Ultimate Pinterest-Inspired Sweet & Salty Treat
Ingredients
Equipment
Method
- Wash and thoroughly dry the green grapes. Any moisture will prevent the caramel from sticking. Skewer each grape with a bamboo knot skewer.
- Combine caramel bits and heavy cream in a bowl. Microwave in 30-second bursts, stirring until you have a thick glossy amber caramel dip.
- Dip each grape halfway into the caramel, allowing a heavy drip to form. Immediately roll the bottom in crushed peanuts and sprinkle with flaky sea salt.
- Place grapes on a dark wood board or parchment paper and refrigerate for 15-20 minutes until the caramel is firm.
Notes
Use high-quality sea salt for the best visual 'sparkle'.

Join the Pantry Dream Community!
Did these Caramel Apple Grapes satisfy your sweet tooth? We want to see your creations! Save this recipe to your Pinterest “Dessert” or “Snack” boards so you never lose it. Follow @pantry_dream for more high-engagement, delicious recipes every week.
If you made these, please leave a 5-star rating in the recipe card above and upload a photo of your dark wood board spread in the comments below. Your feedback helps our community grow and inspires other home cooks to get creative in the kitchen!