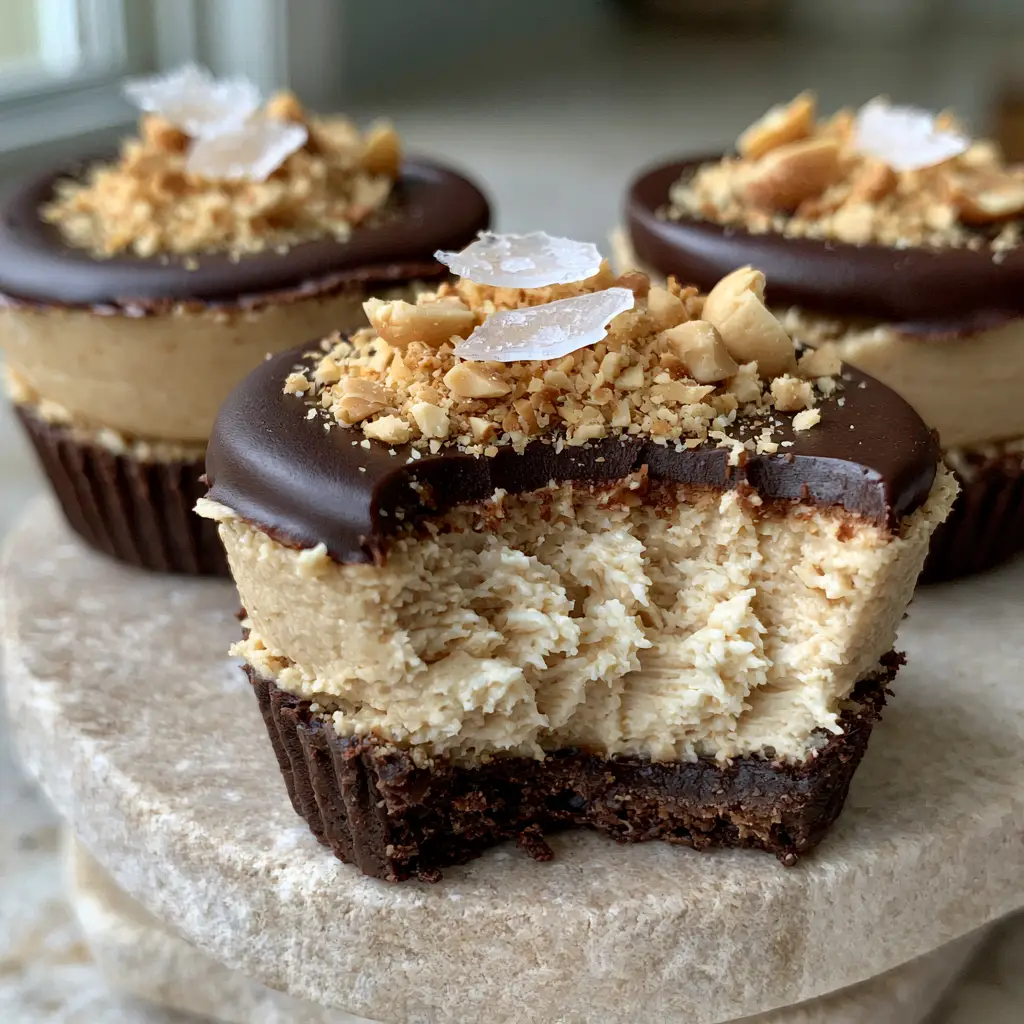
There is something undeniably satisfying about a dessert that looks like it stepped out of a high-end patisserie but fits perfectly into your fitness goals. These Protein Peanut Butter Cheesecake Cups are the embodiment of that balance. Imagine a thick, snapping dark chocolate base followed by a cloud-like, whipped peanut butter center that melts on your tongue, all finished with a glossy dark chocolate ganache and a precise crunch of roasted peanuts.
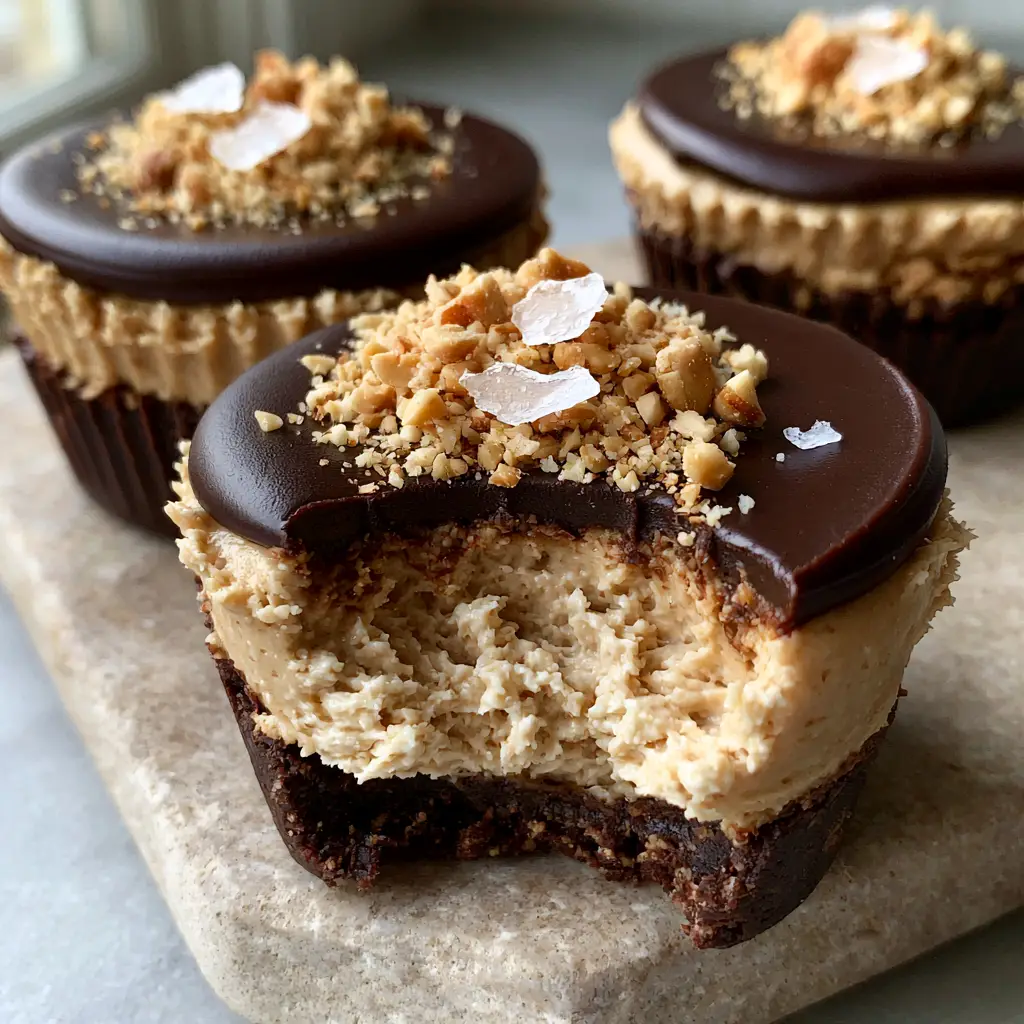
When you take that first bite—just like the one captured in our handheld smartphone shots—you aren’t just getting a sweet treat; you’re getting a texture-rich experience. The soft, whipped interior contrasts against the three distinct flakes of Maldon sea salt, creating a flavor profile that is both sophisticated and nostalgic. Whether you are meal prepping for the week or looking for a show-stopping handheld dessert, these cups deliver on every culinary promise.
Why You Will Crave These Macro-Friendly Cheesecake Bites
- Forensic Texture Harmony: The dense, light-tan cheesecake layer is achieved through a specific whipping technique, ensuring every bite is airy yet protein-dense.
- Triple Chocolate Threat: By using a dark chocolate base and a smooth ganache topping, we create a structural frame that highlights the creamy peanut butter heart.
- Salty-Sweet Perfection: The combination of crushed roasted peanuts and flaky sea salt provides a sensory pop that cuts through the richness of the peanut butter.
- No-Bake Simplicity: This recipe relies on chilling rather than baking, preserving the integrity of the protein and ensuring a consistent, authentic finish every time.
Essential Pantry Staples for These Macro-Friendly Treats
Dark Chocolate Chips or Bar: 1 cup (175g). The foundation of our cups requires a high-quality dark chocolate (at least 70% cocoa) to provide that signature snap when bitten into.
Coconut Oil: 1 tbsp (15g). A small amount of fat is essential to thin the chocolate for the base and ganache, ensuring it doesn’t crack when you take a handheld bite.
Creamy Natural Peanut Butter: 1/2 cup (125g). Use a drippy, natural variety to ensure the light-tan cheesecake layer remains smooth and easy to whip into a soft interior texture.
Greek Yogurt (Plain, 0% or 2%): 1/2 cup (120g). This provides the “cheesecake” tang and a significant protein boost while keeping the calories lower than traditional cream cheese.
Vanilla Whey Protein Powder: 2 scoops (approx. 60g). This acts as both a sweetener and a structural binder for the cheesecake filling, giving it that dense, creamy mouthfeel.
Roasted Peanuts: 2 tbsp (30g), crushed. These add the essential visual and textural garnish described in our blueprint, providing a rustic contrast to the smooth ganache.
Maldon Flaky Sea Salt: A precise dusting. Only three distinct flakes per cup are needed to elevate the dark chocolate and peanut butter flavors to a professional level.
Liquid Stevia or Maple Syrup: 1 tbsp (15ml). Depending on your protein powder’s sweetness, a touch of extra sweetener may be required to balance the bitterness of the dark chocolate.
The Toolkit: What You Need for Perfect Layers
To achieve the hyper-realistic, professional look of three distinct layers, you will need a standard silicone muffin liner set. Silicone is superior to paper here because it allows the dark chocolate base to release cleanly without sticking, preserving the smooth edges of the cup. You will also need a high-speed whisk or a hand mixer to achieve the “soft, whipped interior” mentioned in our visual prompt. Finally, a small offset spatula or a simple teaspoon will help you smooth the ganache topping for that perfectly flat, glossy finish.
Mastering the Layers: A Step-by-Step Culinary Guide
Crafting the Snapping Dark Chocolate Base
Begin by melting 3/4 cup (130g) of the dark chocolate with half of the coconut oil in 30-second intervals in the microwave. Stir until the mixture is glossy and completely smooth, with no remaining lumps. Place 1 tablespoon (15ml) of the melted chocolate into the bottom of 6-8 silicone muffin liners. Gently tilt the liners to ensure the chocolate coats the bottom evenly, then place them in the freezer for 10 minutes until the base is set and firm to the touch.
Whipping the Protein Peanut Butter Filling
In a medium mixing bowl, combine the Greek yogurt, natural peanut butter, and protein powder. Using a hand mixer on medium-high speed, whip the ingredients for 2-3 minutes. You are looking for a visual change: the mixture should turn a light-tan color and increase slightly in volume, indicating air has been incorporated. This creates that soft, whipped interior texture that is revealed when you bite into the cup.
Assembling the Cheesecake Core
Remove the chilled chocolate bases from the freezer. Spoon approximately 2 tablespoons (30g) of the peanut butter cheesecake mixture onto each chocolate base. Use the back of a damp spoon to smooth the top of the filling, ensuring it reaches the edges of the liner. Return the cups to the freezer for another 15 minutes to allow the cheesecake layer to firm up enough to support the ganache topping.
Finishing with the Smooth Chocolate Ganache
Melt the remaining chocolate and coconut oil together until fluid. Carefully pour a thin layer over the chilled cheesecake centers, tilting the liners to create a smooth, mirror-like surface. Immediately, while the chocolate is still wet, add a precise dusting of crushed roasted peanuts and exactly three flakes of Maldon sea salt to each cup. This ensures the garnishes “set” into the chocolate for that authentic, unedited photo look.
Sensory Cues for a Whipped Interior
To ensure your Protein Peanut Butter Cheesecake Cups look exactly like our hyper-realistic prompt, pay attention to the temperature of your ingredients. Your Greek yogurt should be slightly tempered (not ice cold) to prevent the peanut butter from seizing. When whipping, listen for the sound of the mixer—as the air incorporates, the sound will become deeper and the texture will look matte rather than shiny. If your filling looks too translucent, add an extra tablespoon of protein powder to reach that dense, light-tan opacity.
Keep Them Fresh: Storage & Meal Prep Secrets
These cups are designed to be enjoyed in a chilled state. Store them in an airtight container in the refrigerator for up to 5 days. For longer storage, they can be kept in the freezer for up to a month. If freezing, allow the cup to sit at room temperature for 5-7 minutes before eating; this allows the whipped interior to soften just enough to achieve that “soft, whipped” texture while the chocolate base remains crisp and snapping.
Pairing Suggestions for the Ultimate Guilt-Free Spread
These cheesecake cups are a fantastic standalone snack, but they also fit beautifully into a larger brunch or dessert spread. If you’re looking to continue the protein-packed theme, serve these alongside some protein-packed peanut butter waffles. The warmth of the waffles provides a beautiful temperature contrast to the chilled cups.
If you love the format of handheld cheesecakes, you might also enjoy our strawberry cheesecake chocolate cookie cups for a fruitier twist. For those who prefer a more citrus-forward profile, our no-bake lemon cheesecake offers a bright, zesty alternative that shares a similar creamy foundation. These cups are also the perfect “grown-up” version of our classic Reese's cheesecake cookies, offering more protein and less refined sugar.
Your Pressing Questions Answered
Yes, but be aware that plant-based proteins absorb more moisture. You may need to add an extra tablespoon of Greek yogurt or a splash of almond milk to maintain the soft, whipped texture.
Silicone liners are highly recommended for the best visual result. They allow you to pop the cups out easily, leaving the dark chocolate sides perfectly smooth and professional.
Adding a small amount of coconut oil to the melted chocolate lowers its melting point and makes it slightly softer, providing a clean snap without shattering.
Natural ‘drippy’ peanut butter is preferred for the filling as it blends more easily with the Greek yogurt to create that signature light-tan, whipped consistency.
Grittiness usually comes from the protein powder not being fully incorporated. Ensure you are using a high-quality, finely milled powder and whip the mixture for the full 3 minutes.
Protein Peanut Butter Cheesecake Cups Recipe
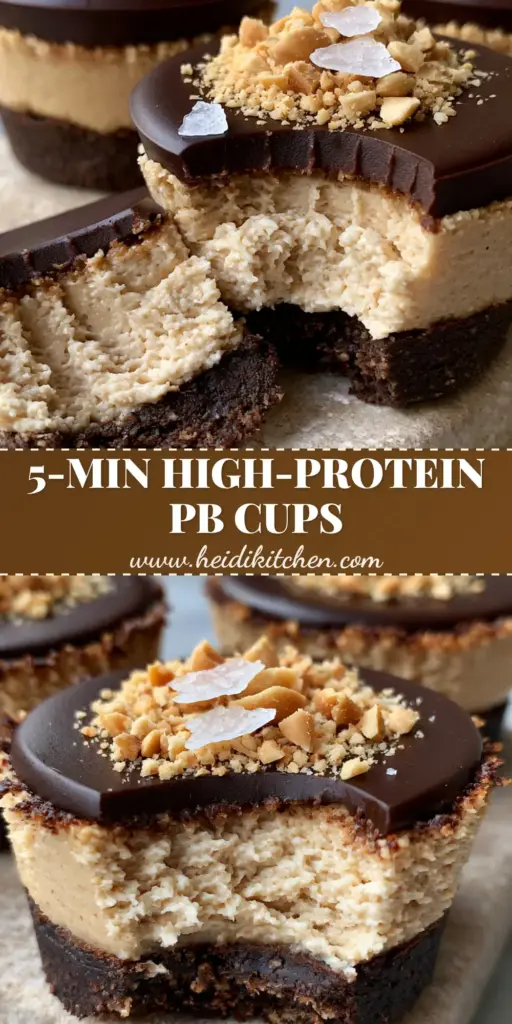
Protein Peanut Butter Cheesecake Cups: The Ultimate High-Protein Dessert Guide
Ingredients
Equipment
Method
- Melt 3/4 cup of chocolate chips with 1/2 tbsp coconut oil until smooth and glossy.
- Distribute chocolate into 8 silicone liners and freeze for 10 minutes until a firm crust forms.
- Mix peanut butter, Greek yogurt, and protein powder in a bowl. Whip with a hand mixer for 2-3 minutes until light-tan and airy.
- Spoon filling over the frozen chocolate bases and smooth with a spoon. Freeze for 15 minutes.
- Melt remaining chocolate and oil. Pour a thin layer over the cheesecake filling.
- Sprinkle with crushed peanuts and 3 flakes of Maldon salt while the chocolate is wet. Chill until serving.
Notes
Whip the filling longer than you think to get that 'bitten-into' soft texture.
Closing & Call to Action
These Protein Peanut Butter Cheesecake Cups prove that you don’t have to sacrifice flavor or aesthetics for the sake of your macros. With their thick chocolate crust and whipped peanut butter center, they are the perfect handheld luxury. If you enjoyed this recipe, please leave a comment below and let us know how your layers turned out! Don’t forget to share your creations and follow us on Pinterest for more culinary inspiration.