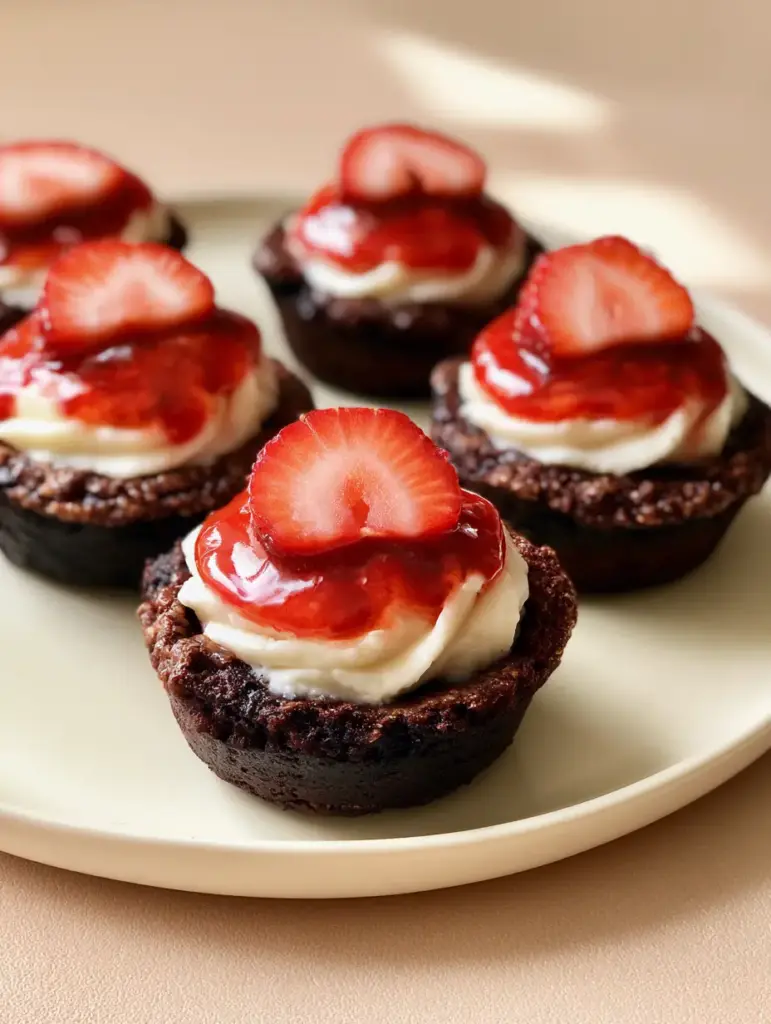
There is a specific kind of magic that happens when deep, dark cocoa meets the bright, tangy allure of velvet-smooth cheesecake. These strawberry cheesecake chocolate cookie cups aren’t just a treat; they are a masterclass in textural contrast. Imagine a handheld delight where a soft, slightly crumbly chocolate edge gives way to a decadent, whipped center, all finished with a shimmering glaze that catches the light like a ruby.
In this guide, we are meticulously deconstructing this viral sensation. Whether you are prepping for a sophisticated garden party or simply craving a high-end bakery experience in your own kitchen, these cups deliver. We focus on the forensic details—the precise gloss of the strawberry reduction and the specific “swirl” technique that ensures every bite is as visually stunning as it is delicious.
The inspiration for this recipe comes from the intersection of classic confectionery and modern food photography. By following our scientifically-backed ratios, you will achieve that iconic “smartphone-ready” look: a deep ebony base, a stark white filling, and a vibrant red crown. This is the dessert that stops the scroll and satisfies the soul.
Why These Mini Chocolate Strawberry Delights Outshine Every Other Dessert
- The Perfect Handheld Ratio: Unlike a standard slice of cake, these strawberry cheesecake chocolate cookie cups provide the ideal balance of crust, filling, and fruit in every single bite.
- Visual Forensics: We utilize a high-gloss glaze technique that ensures your strawberries look fresh and vibrant for hours, mimicking the professional aesthetic of luxury pâtisseries.
- Multi-Dimensional Texture: You get the crunch of the cookie cup, the airy fluff of whipped cream cheese, and the succulent bite of a fresh, ripe strawberry slice.
- Make-Ahead Mastery: These components can be prepped individually, making this an elite choice for stress-free entertaining.
The Essential Pantry Staples for Rich Chocolate Bases
To achieve the “deep dark chocolate” look described in our visual blueprint, the quality of your cocoa is paramount. We aren’t just looking for sweetness; we are looking for the structural integrity of a cup that can hold its weight without crumbling into a mess.
Dutch-Processed Cocoa Powder: 1/2 cup (45g). This is non-negotiable for that nearly-black color and smooth, mellow chocolate flavor that isn’t overly acidic.
Unsalted Butter (Softened): 1/2 cup (115g). Butter provides the fat necessary for that “soft, slightly crumbly edge” that melts on the tongue while maintaining a firm shape.
Granulated Sugar & Brown Sugar: 1/2 cup (100g) each. The granulated sugar assists with the crisp edge, while the molasses in the brown sugar keeps the base chewy and moist.
All-Purpose Flour: 1 1/2 cups (190g). This provides the “bones” of the cookie cup. We measure by weight to ensure the dough isn’t too dry, which would lead to cracking.
Large Egg: 1 unit (approx. 50g). The egg acts as the primary binder, ensuring the walls of your cookie cups are strong enough to hold the creamy filling.
The Secrets to a Velvety Whipped Cream Cheese Filling
A classic cheesecake can sometimes feel heavy. For these bite-sized cups, we want a filling that feels like a cloud. We achieve this by folding whipped elements into a dense cream cheese base.
Full-Fat Cream Cheese: 8 oz (225g). Always use the block form, never the tub. The higher fat content and lower moisture levels are essential for a stable, pipeable swirl.
Powdered Sugar: 1/2 cup (60g). This dissolves instantly into the cheese, providing sweetness without any gritty texture, maintaining that “pale-white” visual profile.
Heavy Whipping Cream: 1/4 cup (60ml). By beating this into the mixture, we introduce micro-bubbles that transform the dense cheese into a velvety mousse.
Pure Vanilla Extract: 1 tsp (5ml). This adds an aromatic depth that bridges the gap between the bitter chocolate and the sweet strawberry.
Achieving the Glossy Red Strawberry Glaze
The “glossy, vibrant red” finish mentioned in our Midjourney prompt isn’t just luck. It requires a simple chemical reaction using cornstarch and heat to create a translucent, reflective coating.
Fresh Strawberries (Diced): 1 cup (150g). These will be cooked down to release their natural juices and vibrant pigments.
Cornstarch: 1 tsp (5g). This is the secret to the gloss. It thickens the juice into a clear gel rather than an opaque jam.
Fresh Lemon Juice: 1 tsp (5ml). The acid brightens the red color and cuts through the sugar, making the strawberry flavor “pop.”
Precision Tools for Professional Results
To recreate the exact visual blueprint, you will need a few specific items from your kitchen arsenal. If you’ve previously made recipes like our mini taco cups, you’ll already be familiar with the importance of a high-quality muffin tin.
- Standard 12-count Muffin Tin: Essential for shaping the “cup” structure.
- Tart Tamper or Small Measuring Spoon: Used to press the “well” into the center of the baked cookie.
- Piping Bag with a Large Round Tip: This is how you achieve the “thick swirl” of filling seen in the photos.
- Fine-Mesh Strainer: If you prefer a perfectly smooth glaze without seeds, though our blueprint allows for a rustic, glossy finish.
Engineering the Perfect Chocolate Cookie Cup Base
Step 1: Creaming for Structure
In a large bowl, cream together your softened butter and sugars until the mixture is pale and fluffy, about 3 minutes. This aeration is what creates the “soft, crumbly” texture rather than a hard, biscuit-like bite. Incorporate the egg and vanilla, beating until the ribbons of batter fall smoothly from the whisk.
Step 2: Sifting and Folding
Sift the flour, cocoa powder, and a pinch of salt together. Gently fold the dry ingredients into the wet. Do not overmix! Overworking the dough develops gluten, which will make your cookie cups tough and chewy instead of tender. The dough should look like dark chocolate clay.
Step 3: The “Well” Technique
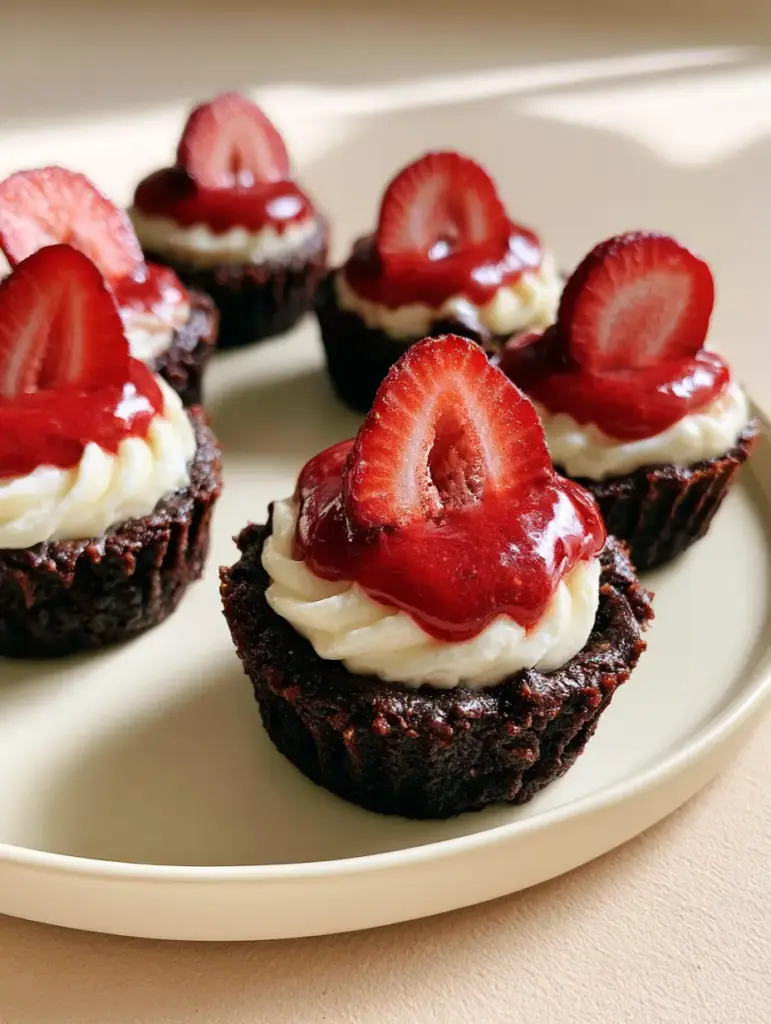
Scoop approximately 2 tablespoons (30g) of dough into each greased muffin tin cavity. Bake at 350°F (175°C) for 10-12 minutes. As soon as they come out of the oven—while they are still soft—use a tart tamper or the back of a spoon to press deep wells into the center. This creates the vessel for our cheesecake filling.
Crafting the Whipped Filling and Vibrant Glaze
Step 4: The Velvety Swirl
Beat the room-temperature cream cheese and powdered sugar until completely smooth. In a separate bowl, whip the heavy cream to stiff peaks, then gently fold it into the cheese. Transfer this to a piping bag. Pipe a generous, thick swirl into each cooled cookie cup, ensuring the filling reaches just above the rim of the chocolate edge.
Step 5: Simmering the Ruby Glaze
In a small saucepan, combine the diced strawberries, sugar, and lemon juice. Simmer over medium heat until the berries break down. Whisk the cornstarch with a teaspoon of water and stir it into the simmering berries. Watch as the mixture transforms from cloudy to a stunning, glossy translucent red. Let this cool completely before spooning it over the cheesecake filling.
Expert Tips for Visual and Culinary Success
- Temperature Control: Ensure your cookie cups are completely cold before filling. If they are even slightly warm, the whipped cream cheese will melt, losing that “thick swirl” definition.
- The Strawberry Slice: For the most professional look, use only the center slices of the strawberry. These provide the iconic triangular shape seen in the Midjourney prompt.
- Avoid the “Sog”: Only add the glossy glaze and fresh strawberry slice shortly before serving. This prevents the moisture from the glaze from softening the chocolate cookie base too much.
- Internal Balance: If you enjoy this flavor profile, you might also love our Reese’s cheesecake cookies for a peanut butter twist on the filled-cookie concept.
Preserving the Texture: Storage and Freshness
Because these strawberry cheesecake chocolate cookie cups contain fresh dairy and fruit, they must be refrigerated. Place them in a single layer in an airtight container. They will stay fresh for up to 3 days, though the cookie base will gradually soften.
We do not recommend freezing the fully assembled cups, as the fresh strawberry slice and the cornstarch-thickened glaze will lose their texture and gloss upon thawing. However, you can freeze the un-filled chocolate cookie cups for up to 3 months.
What to Serve With These Elegant Cookie Cups
These bite-sized treats are rich, so they pair best with beverages or light savory items. For a refreshing fruit-forward pairing, try serving them alongside a strawberry acai refresher. If you are hosting a full brunch, these make an excellent “dessert course” following a main of avocado toast.
If you’re looking for more creamy dessert inspiration, our no-bake lemon cheesecake offers a similar velvety texture with a citrusy punch. These cookie cups also fit perfectly into a lunch or dinner party spread as a final, impressive flourish.
Frequently Asked Questions
Yes, you can use frozen strawberries for the cooked glaze, but be sure to use fresh strawberry slices for the final garnish to maintain the visual appeal.
No, this specific recipe uses a whipped cream cheese filling that is stabilized with heavy cream, giving it a light, mousse-like texture without the need for baking.
Use a piping bag fitted with a large round or star tip. Start from the outer edge of the cookie cup and move in a spiral toward the center, lifting as you finish.
Grease the tin thoroughly with butter or non-stick spray, or use paper liners if you prefer a more casual, easy-release option.
You must press the well immediately after the cookies come out of the oven. Once they cool, the structure sets and will crack if you try to shape it.
The Official Strawberry Cheesecake Chocolate Cookie Cups Recipe
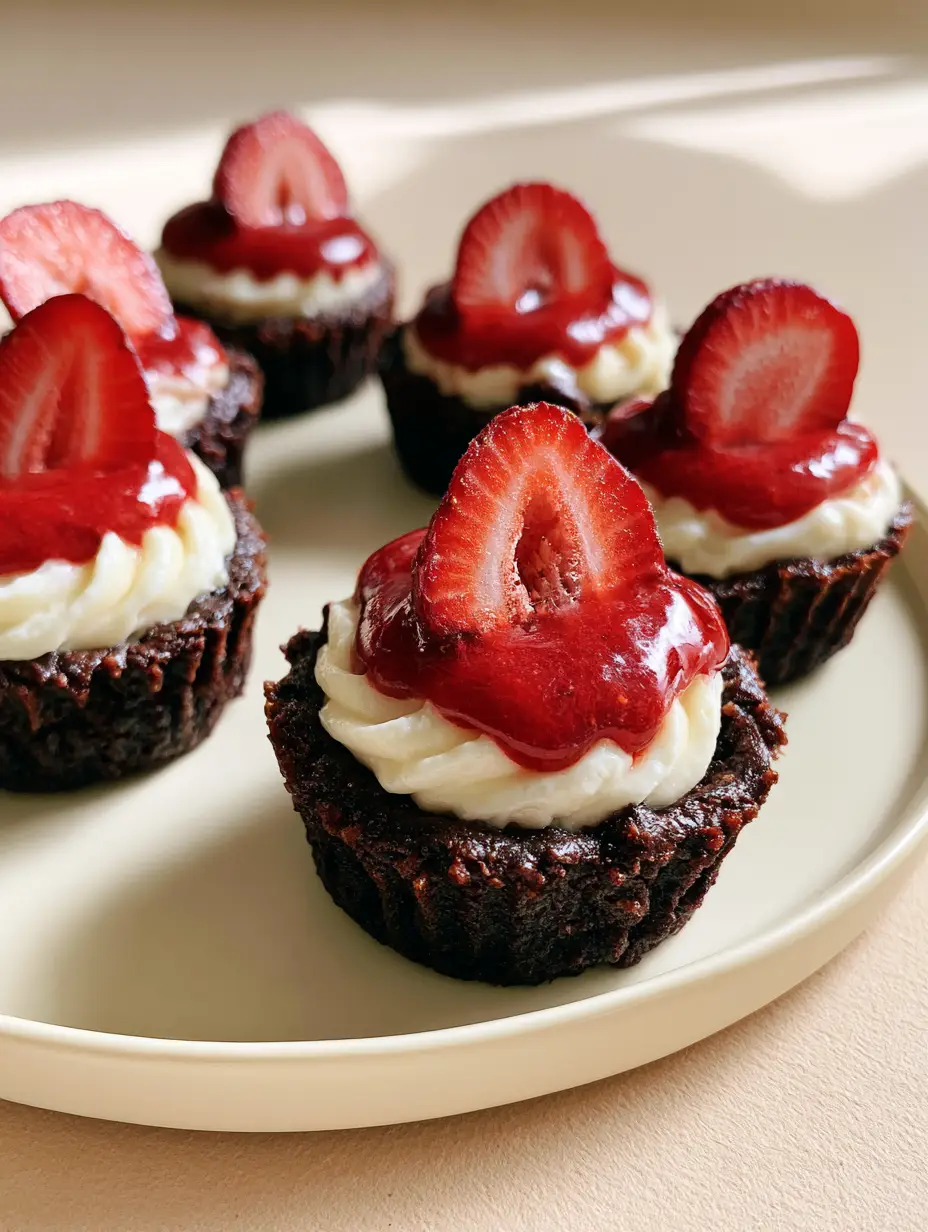
Strawberry Cheesecake Chocolate Cookie Cups: The Ultimate Bite-Sized Gourmet Dessert
Ingredients
Equipment
Method
- Cream softened butter and both sugars until light and fluffy. Beat in the egg and vanilla.
- Sift together flour, cocoa, and salt. Fold into the wet ingredients until a dark dough forms.
- Scoop 2 tbsp of dough into each muffin tin cavity. Bake at 350°F (175°C) for 10-12 minutes. Immediately after baking, press a well into each cookie using a tart tamper.
- Beat cream cheese and powdered sugar until smooth. In a separate bowl, whip heavy cream to stiff peaks, then fold into the cream cheese. Pipe into cooled cups.
- Simmer diced strawberries and sugar until broken down. Add cornstarch slurry and cook until glossy and thick. Cool completely.
- Spoon glaze over the filling and top each cup with a half slice of fresh ripe strawberry.
Notes
Use a high-quality Dutch-processed cocoa for the deepest dark chocolate color.
Closing Thoughts: A Masterpiece in Every Bite
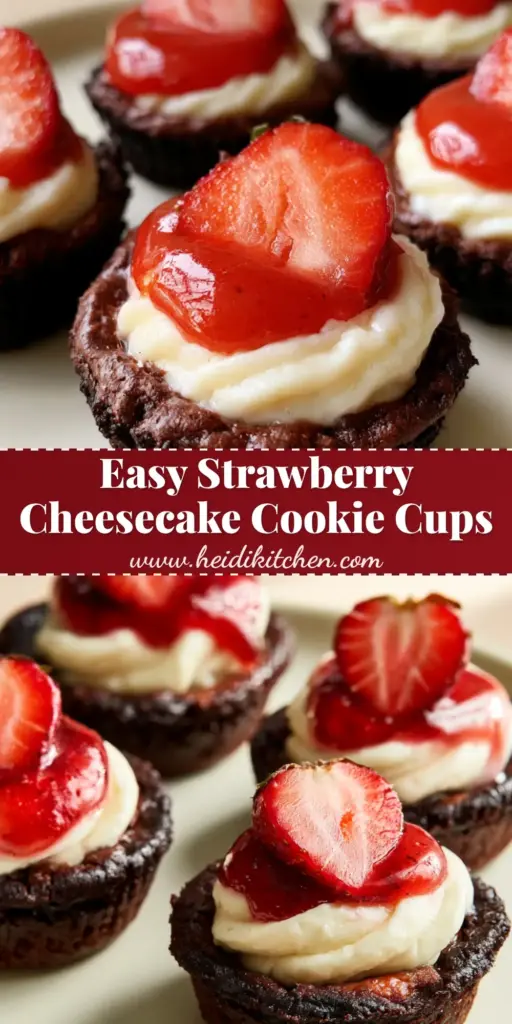
Mastering the strawberry cheesecake chocolate cookie cups is a journey through color, texture, and taste. From the deep chocolate “crumbly edge” to the “glossy, vibrant red” glaze, every element has been designed to provide a luxury dessert experience. This recipe proves that you don’t need a professional bakery to create world-class sweets.
Did you try this recipe? We want to see your results! Share your photos on social media and be sure to follow us on Pinterest for more culinary inspiration. Leave a comment below if you have any questions about the techniques used in this guide!