There is a specific, euphoric sound that every baker chases: the delicate, glass-like shatter of a paper-thin crust giving way to a center so dense it borders on truffle territory. These Salted Brownie Crinkle Cookies are the physical manifestation of that sound. If you have been searching for a cookie that captures the soul of a corner-piece brownie but offers the portability of a handheld snack, you have arrived at your destination.
The magic of the Salted Brownie Crinkle Cookies lies in their architectural contrast. We are not just making a chocolate cookie; we are creating a multi-layered sensory experience. From the highly reflective, intensely crinkled, glossy light-brown meringue crust to the molten dark chocolate pockets hidden within the fudgy interior, every bite is a study in texture. Topped with large, coarse, translucent flakes of Maldon sea salt, these cookies balance rich decadence with sharp, crystalline brightness.
In this guide, we will dive deep into the culinary science of the “crinkle,” exploring how temperature, aeration, and fat ratios work together to create that iconic reflective sheen. Whether you are serving these on rustic, crumpled unbleached brown parchment paper for a gathering or enjoying a warm broken half in the soft natural daylight of your kitchen, the results remain consistent: pure chocolate bliss.
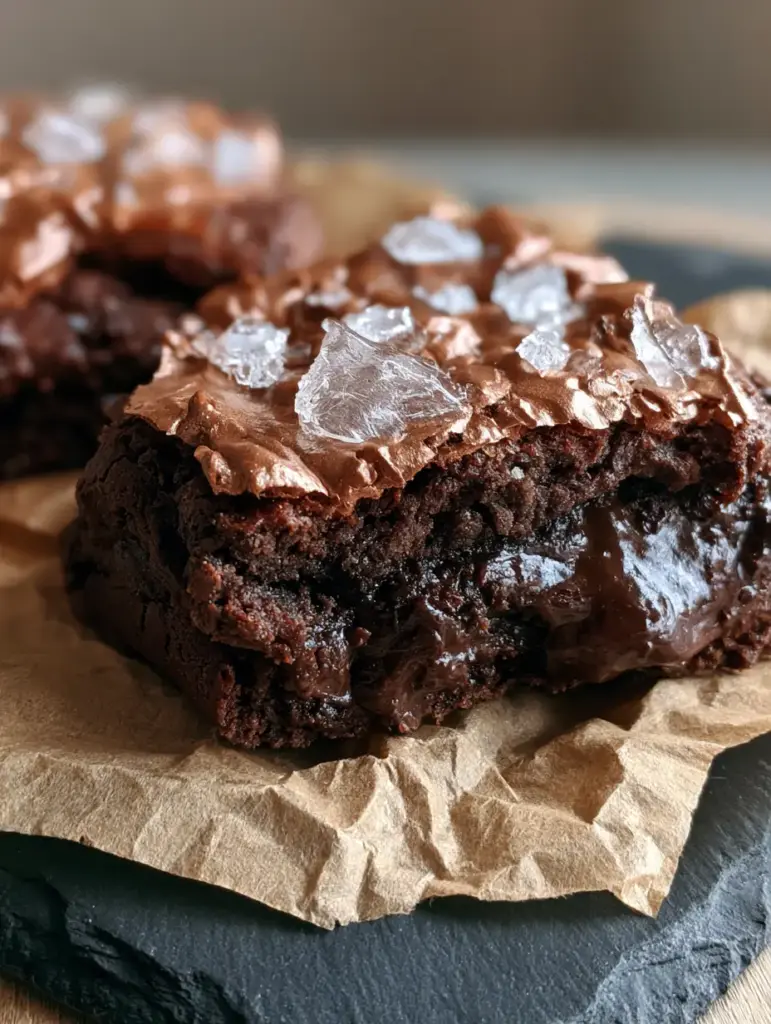
Why You Will Obsess Over These Fudgy Chocolate Discs
- The Meringue Shell: A paper-thin, glossy crust that crackles upon impact, achieved through specific egg-sugar aeration techniques.
- Dual-Chocolate Depth: We use both Dutch-processed cocoa powder and melted 70% dark chocolate to ensure a profile that is sophisticated and deep, not just sweet.
- Molten Pockets: Unlike standard chips, hand-chopped chocolate chunks create flowing, molten reservoirs of cocoa throughout the dense center.
- The Salted Finish: Hand-scattered Maldon sea salt crystals provide the essential counterpoint to the rich, fudgy chocolate interior.
- Visual Perfection: These cookies look exactly like they came from a high-end artisanal bakery, featuring that signature “cracked earth” aesthetic.
The Essential Pantry Elements for Perfect Crinkles
To achieve the visual and structural results described in our blueprint, every ingredient must serve a specific scientific purpose. We are not just mixing dough; we are engineering a reaction.
High-Quality Dark Chocolate (70% Cocoa): 8 ounces (225g) of chopped chocolate bar. This provides the structural foundation and the “molten pockets” that chocolate chips, which contain stabilizers, simply cannot replicate.
Unsalted Butter: 1/2 cup (115g). Butter provides the necessary fat for a soft, fudgy crumb and helps bloom the cocoa powder for a more intense flavor profile.
Granulated White Sugar: 3/4 cup (150g). While brown sugar adds chew, granulated sugar is the secret to the glossy, crinkled crust, as it migrates to the surface during baking to form a thin meringue.
Light Brown Sugar: 1/2 cup (100g). This adds the essential moisture and slight molasses undertone required for a dense, brownie-like interior texture.
Large Eggs: 2 eggs (at room temperature). The protein in the eggs, when whipped thoroughly with the sugars, creates the foam structure that rises and then collapses into those beautiful crinkles.
Dutch-Processed Cocoa Powder: 1/3 cup (30g). This alkali-treated cocoa provides a darker color and a smoother, less acidic chocolate flavor that perfectly matches the dark slate aesthetic of our presentation.
All-Purpose Flour: 1 cup (125g). We use a relatively low amount of flour to ensure the Salted Brownie Crinkle Cookies remain fudgy rather than cakey or dry.
Baking Powder: 1 tsp (5g). This provides the quick lift needed to stretch the surface crust before it sets, creating the deep fissures and cracks.
Espresso Powder: 1 tsp (2g). An “invisible” ingredient that doesn’t make the cookies taste like coffee but significantly amplifies the natural fruitiness of the dark chocolate.
Maldon Sea Salt: 1 tbsp (15g). These large, translucent flakes are essential for the visual contrast and for cutting through the richness of the dense chocolate center.
The Pro-Baker’s Toolkit for Gourmet Brownie Cookies
To replicate the handheld smartphone photo style of a perfect cookie, you need the right tools to handle the sticky, rich dough. A heavy-duty stand mixer or electric hand mixer is non-negotiable here; you cannot achieve the necessary aeration for the crust by hand.
You will also need a medium saucepan for a gentle bain-marie to melt the chocolate and butter together without scorching. A silicone spatula is vital for folding the dry ingredients without deflating the egg foam. Finally, ensure you have a sheet of rustic, crumpled unbleached brown parchment paper. Crumpling the paper before flattening it out on your baking sheet prevents the cookies from sliding and adds that sought-after artisanal texture to the bottom of the cookie.
Mastering the Art of the Glossy Meringue Shell
Step 1: The Chocolate Fusion
In a small heat-proof bowl set over a pot of simmering water, combine your chopped 70% dark chocolate and the unsalted butter. Stir occasionally until the mixture is glossy and completely smooth, then remove from heat and let it cool slightly. This step is critical; if the chocolate is too hot when added to the eggs, it will scramble them, but if it’s too cold, it won’t incorporate into the fudgy center properly.
Step 2: The High-Speed Aeration (The Secret to the Crinkle)
In the bowl of your stand mixer, combine the room-temperature eggs, granulated sugar, and brown sugar. Beat on medium-high speed for a full 5 to 7 minutes. You are looking for a visual cue: the mixture should be pale, thick, and fall in heavy “ribbons” when the whisk is lifted. This process creates the meringue structure that rises to the top of your Salted Brownie Crinkle Cookies to form that paper-thin crust.
Step 3: Integrating the Fudgy Foundation
Lower the mixer speed to its lowest setting and slowly pour in the slightly cooled chocolate and butter mixture. Once combined, stop the mixer. Sift in the flour, Dutch-processed cocoa powder, baking powder, and espresso powder. Use a spatula to gently fold the ingredients together until no streaks of flour remain. The batter should look thick, glossy, and intensely dark.
Step 4: Creating the Molten Pockets
Gently fold in your remaining chunks of dark chocolate. Do not overmix at this stage, as we want to preserve the air bubbles we worked so hard to create. Using a large cookie scoop, drop rounded mounds of dough onto your prepared unbleached brown parchment paper. Space them at least 2 inches apart, as these will spread slightly to create those thick, broken edges seen in the prompt.
Step 5: The Precise Bake and Salt Finish
Bake in a preheated oven at 350°F (175°C) for 10-12 minutes. Watch for the sensory cue: the cookies will puff up significantly and the surface will transition from wet to a duller, crinkled matte. As soon as you pull them out, while they are still hot and soft, scatter the Maldon sea salt crystals over the top. The residual heat will help the salt adhere to the glossy crust without melting it.
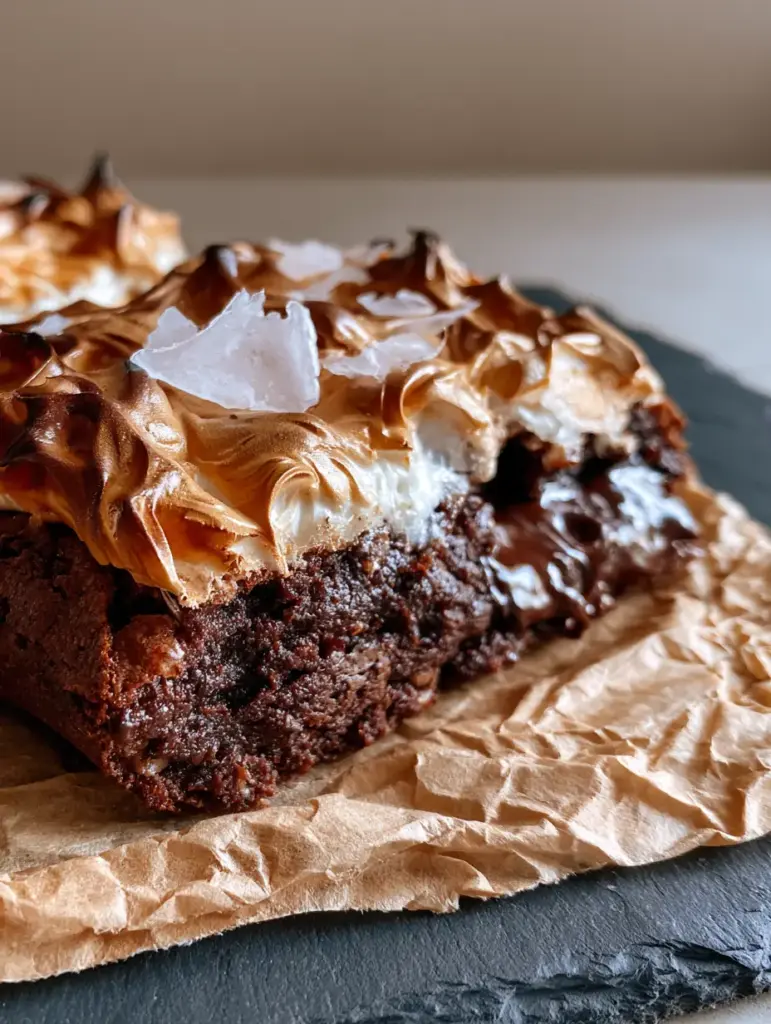
Troubleshooting the Perfect Crackle Top
- Why is my crust not glossy? This usually happens if the eggs and sugar weren’t beaten long enough. The sugar must be fully dissolved and the egg proteins whipped to form the thin meringue layer that creates the sheen.
- Why are my cookies flat? Ensure your baking powder is fresh. Also, avoid over-melting the butter; it should be just melted and combined with the chocolate, not boiling hot.
- How do I get those molten pockets? Use a high-quality chocolate bar chopped into irregular sizes rather than uniform chocolate chips. The irregular chunks melt at different rates, creating the “gooey texture of the broken edge” mentioned in the visual blueprint.
- Can I chill the dough? Unlike Salted Butter Chocolate Chip Cookies, this dough should be baked immediately. If you chill it, the sugar will fully dissolve into the fat, and you will lose the signature crinkle crust.
Protecting Your Stash: Storage and Reheating
Because of their high moisture content and dense fudgy chocolate cookie interior, these cookies are best enjoyed within the first 24 hours. To store them, place them in a single layer in an airtight container at room temperature for up to 3 days. If you stack them, the glossy crust may soften and become sticky.
If you want to revive that “molten dark chocolate pocket” experience, you can pop a cookie in the microwave for exactly 8 seconds. This will soften the center without ruining the delicate, paper-thin crust. For long-term storage, these cookies freeze exceptionally well. Wrap them individually in plastic wrap and store in a freezer bag for up to 2 months.
What to Pair with Rich Dark Chocolate
These Salted Brownie Crinkle Cookies are incredibly rich, so they benefit from pairings that either cut through the fat or complement the deep cocoa notes. A glass of cold milk is the classic choice, but for a more sophisticated dessert spread, consider serving them alongside a vibrant fruit option.
If you’re hosting a brunch, these cookies follow beautifully after a savory main like Cheesy Pull-Apart Garlic Bread or a hearty Cajun Chicken Alfredo Stuffed Shells. For a lighter balance, a glass of something from our Glow-Boosting Juice Recipes can provide a refreshing citrus acidic hit that cleanses the palate between rich, chocolatey bites.
Your Pressing Crinkle Cookie Questions Answered
While you can, chopped bars are highly recommended for the visual ‘molten pockets.’ Chocolate chips contain stabilizers that prevent them from melting into the gooey reservoirs seen in the professional photos.
No! For this specific recipe, baking the dough immediately is crucial. Chilling the dough changes the sugar structure and will result in a smooth top rather than the desired glossy crinkle.
As soon as the cookies come out of the oven, place a circular cookie cutter or a large glass over them and gently scoot it in a circular motion. This ‘scooting’ method smooths out irregular edges for a perfect bakery look.
The most common reason is under-beating the eggs and sugar. You must whip them for at least 5-7 minutes until they reach the ‘ribbon stage’ to form the thin meringue layer that crinkles during baking.
Espresso powder acts as a flavor enhancer. It doesn’t make the cookie taste like coffee; rather, it intensifies the cocoa notes, making the dark chocolate taste richer and more complex.
The Official Salted Brownie Crinkle Cookies Recipe
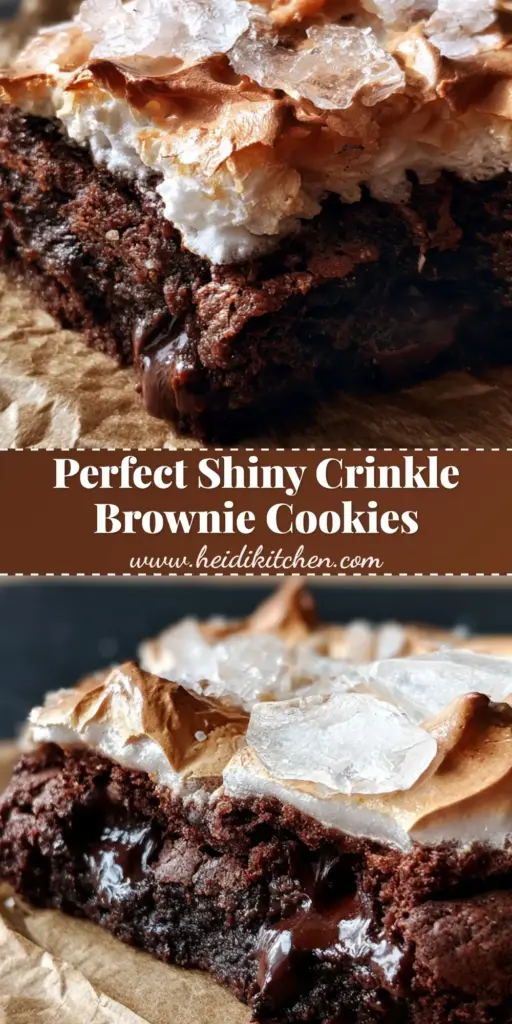
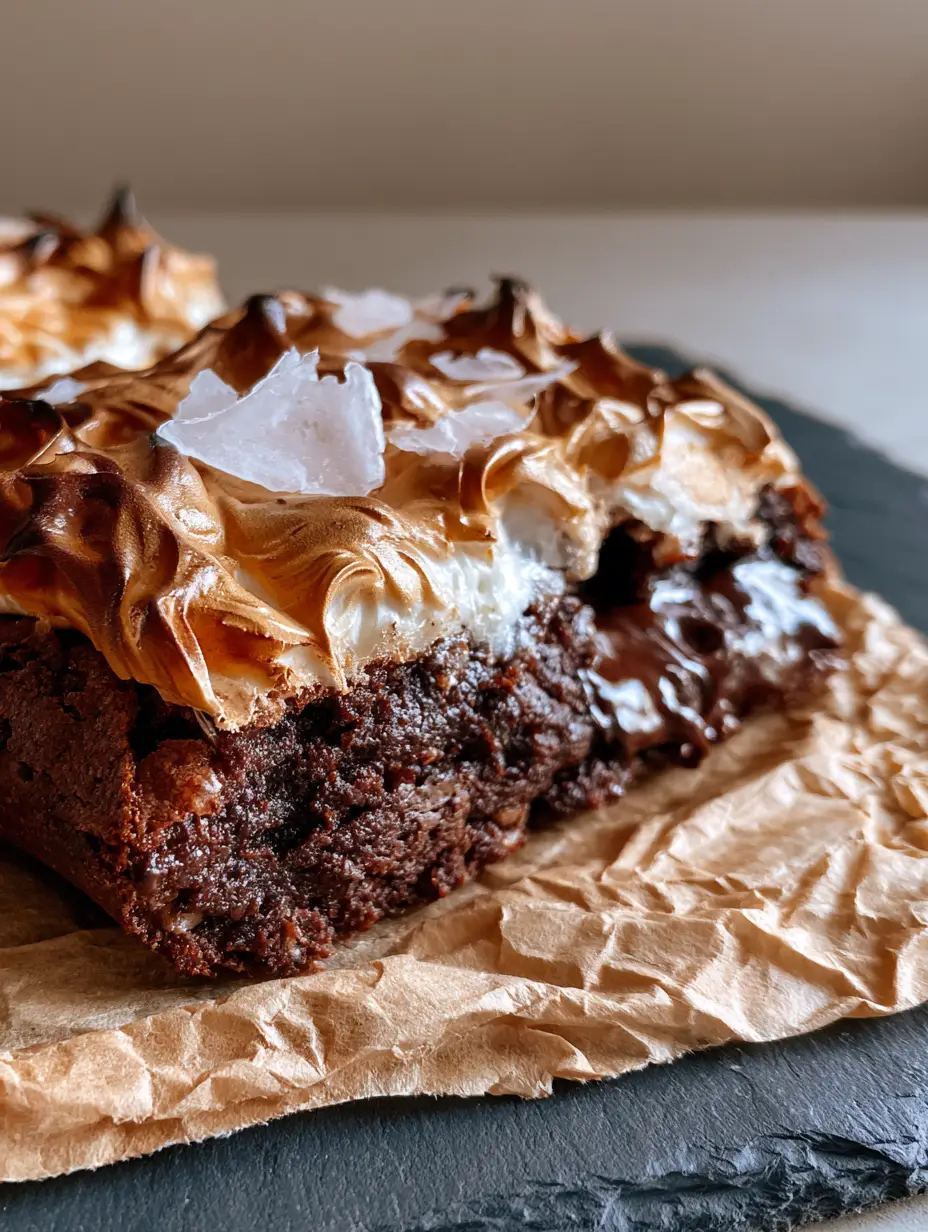
Salted Brownie Crinkle Cookies: The Ultimate Fudgy Masterpiece
Ingredients
Equipment
Method
- Melt chocolate and butter together in a bain-marie until smooth. Set aside to cool slightly.
- Whip eggs, granulated sugar, and brown sugar on medium-high speed for 5-7 minutes until pale and thick.
- Fold cooled chocolate into the egg mixture, followed by the sifted dry ingredients and extra chocolate chunks.
- Scoop onto parchment paper and bake at 350°F (175°C) for 10-12 minutes until crinkled and puffed.
- Immediately sprinkle with flaky sea salt while still warm.
Notes
Use room temperature eggs to ensure maximum volume during whipping.
Closing & Call to Action
Mastering the Salted Brownie Crinkle Cookies is a rite of passage for any serious home baker. The combination of the shattering, reflective crust and the almost-undercooked fudgy center creates a cookie that is truly unforgettable. It’s a recipe that demands high-quality ingredients and a little bit of patience during the whipping stage, but the visual and culinary payoff is worth every second.
If you enjoyed this deep dive into the science of the brownie cookie, please leave a comment below and let us know how your crinkles turned out! We love seeing your photos, especially those close-up handheld smartphone shots against a dark slate background. Don’t forget to share your creations and follow us on Pinterest for more visually stunning recipe blueprints!