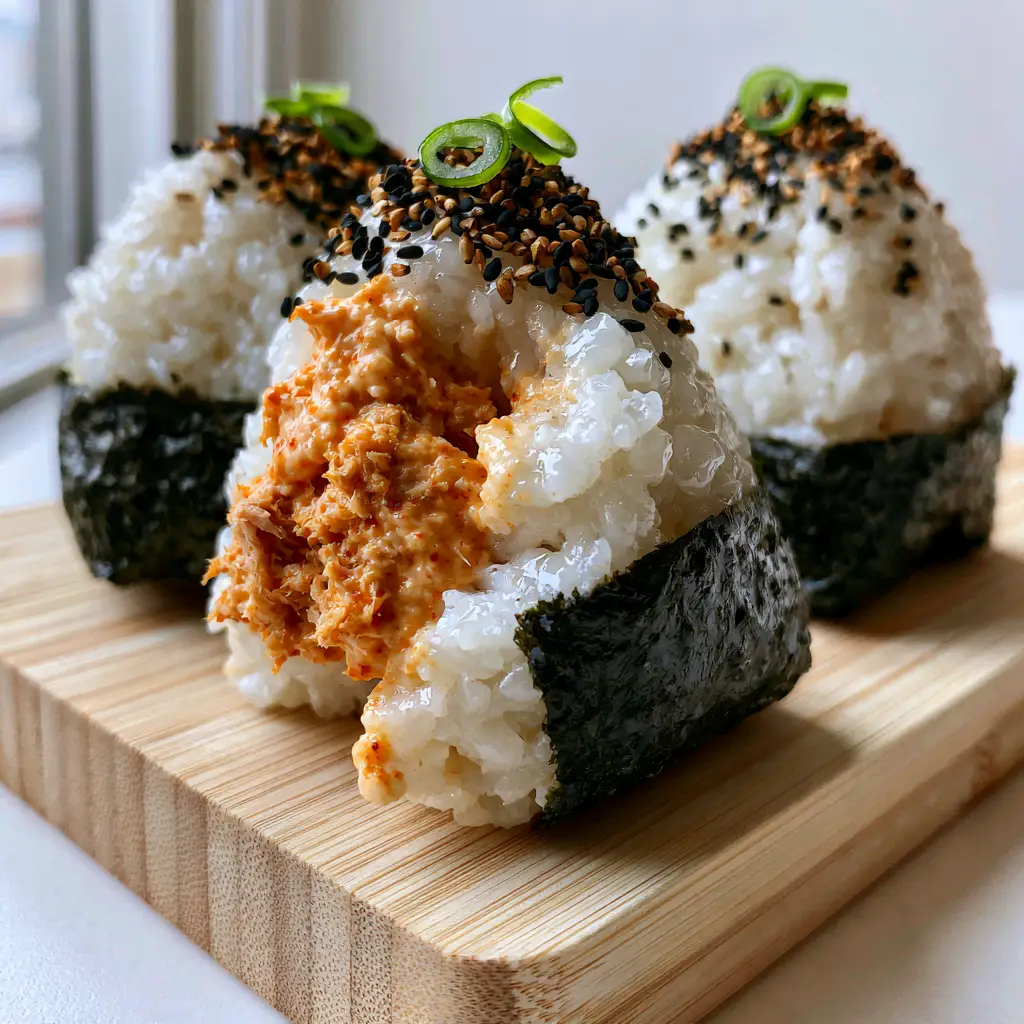
Experience the ultimate handheld comfort food with this authentic Spicy Tuna Onigiri. These iconic Japanese rice balls feature glistening, fluffy short-grain rice packed with a creamy, vibrant sriracha-mayo tuna filling.
Whether you are looking for a portable snack or a stunning centerpiece for your next bento box, this recipe delivers professional results. Each bite offers a contrast between the crisp, dark matte green nori and the tender, seasoned rice.
Captured in natural daylight, these triangular gems are garnished with toasted black sesame seeds and micro-thin scallion rings for a modern, smartphone-ready aesthetic. Let’s dive into the culinary science of crafting the perfect rice ball.
Why This Is the Only Spicy Tuna Onigiri Recipe You Need
- Glistening Texture: We use specific washing techniques to ensure every individual grain of short-grain white rice is visible and perfectly hydrated.
- Vibrant Filling: The sriracha-mayo ratio is calibrated to provide a bold orange hue and a creamy texture that doesn’t make the rice soggy.
- Structural Integrity: Learn the professional “hand-shaping” method that keeps the triangular form intact without over-compressing the rice.
- Visual Precision: From the precise nori wrap to the delicate scallion garnish, this recipe mirrors the high-end aesthetic of artisanal Japanese cafes.
Essential Ingredients for the Perfect Spicy Tuna Onigiri
Short-Grain White Rice: Use high-quality Japanese cultivars like Koshibikari. This rice contains the specific starch content needed to hold the triangular shape while remaining fluffy.
Canned Tuna Flakes: Select tuna in water for the cleanest flavor profile. It must be drained aggressively to ensure the creamy sauce maintains its thickness.
Kewpie (Japanese) Mayonnaise: This is a “foundational invisible ingredient.” Unlike Western mayo, it uses only egg yolks and rice vinegar, providing the essential rich, umami base for the sriracha.
Sriracha Chili Sauce: This provides the “Spicy” in our Spicy Tuna Onigiri. It adds both the heat and the vibrant orange color seen in our visual blueprint.
Toasted Nori Seaweed Strips: Look for “gold grade” nori for the best snap. These strips provide a salty, oceanic crunch that protects your hands from the sticky rice.
Toasted Black Sesame Seeds: These offer a nutty finish and a sharp visual contrast against the white rice grains.
Fresh Scallions: Only use the bright green stalks. Sliced into micro-thin rings, they provide a necessary aromatic lift and a pop of color.
Rice Seasoning (Vinegar, Sugar, Salt): While invisible in the final photo, these are scientifically required to season the rice and give it that professional “shari” shine.
Must-Have Tools for Culinary Precision
To achieve the handheld smartphone photo perfection shown in the blueprint, you will need a few specific tools. A heavy-bottomed pot or a high-quality rice cooker is non-negotiable for even hydration.
You will also need a fine-mesh sieve for rinsing the rice until the water runs clear. For the filling, a small offset spatula or a teaspoon helps place the spicy tuna exactly in the center.
Lastly, keep a small bowl of salted water nearby. This prevents the rice from sticking to your hands and seasons the exterior of the Spicy Tuna Onigiri as you shape it.
The Step-by-Step Path to Glistening Rice Perfection
Preparing the High-Starch Rice Base
Place 2 cups (400g) of short-grain rice in a bowl and rinse it 4-5 times. The goal is to remove excess surface starch so the grains remain distinct and glistening rather than gummy.
Drain the rice and add it to your cooker with 2 cups (480ml) of filtered water. Let it soak for 30 minutes before turning on the heat; this ensures the core of each grain is fully hydrated.
Once cooked, gently fold in a mixture of 2 tbsp (30ml) rice vinegar and 1 tsp (5g) sugar. This creates the “moisture highlight” seen in our visual prompt, making the rice look iridescent under natural light.
Crafting the Vibrant Sriracha-Mayo Filling
Open one 5oz (142g) can of tuna and squeeze out every drop of moisture. Place the dry flakes in a bowl and flake them finely with a fork.
Add 2 tbsp (30g) of Kewpie mayo and 1 tbsp (15g) of sriracha. Mix until the color is a uniform, vibrant orange. The texture should be thick and spreadable, not runny.
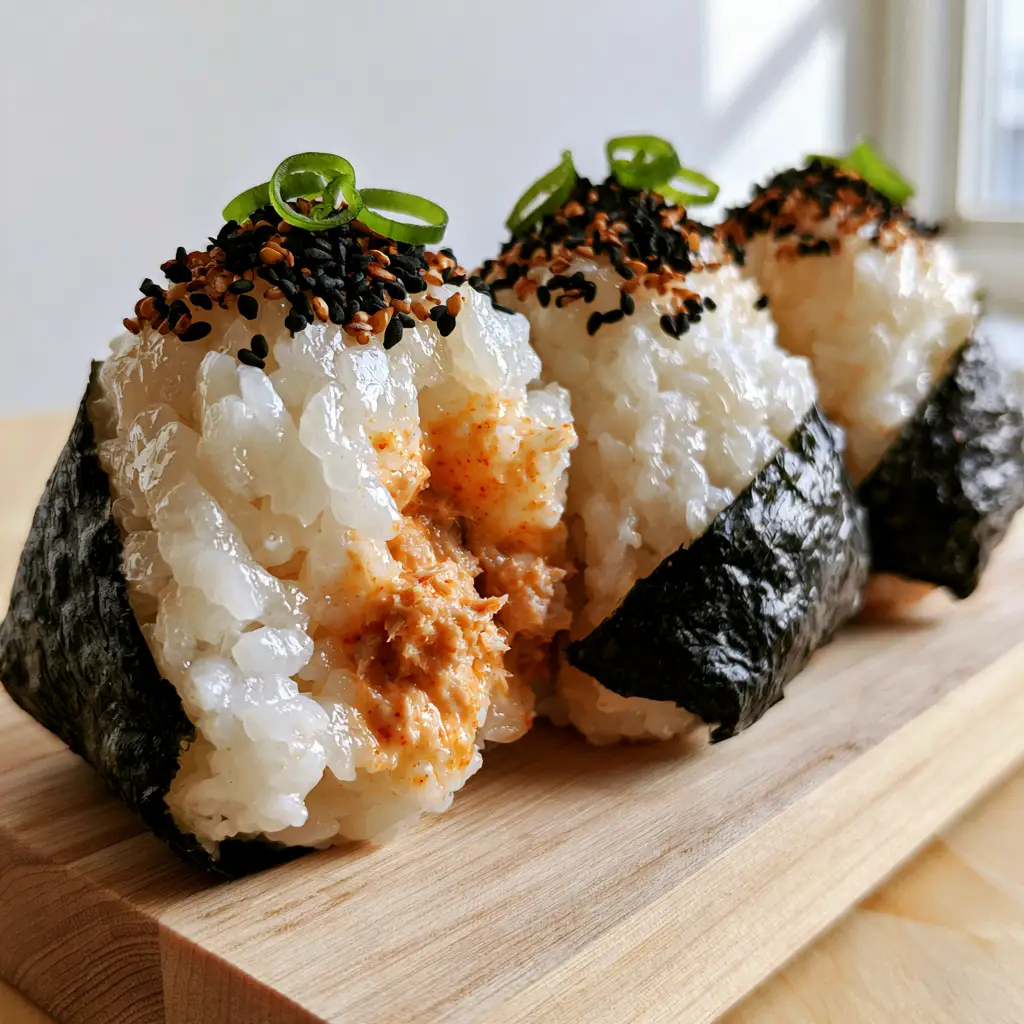
Fold in half of your micro-thin scallions. This builds internal flavor and ensures that even the “bitten-into” view of your Spicy Tuna Onigiri looks chef-prepared.
Mastering the Triangular Hand-Shaping Technique
Wet your hands with the salted water. Scoop about 1/2 cup (120g) of warm rice into your palm and create a deep indentation in the center.
Place 1 tablespoon of the spicy tuna filling into the well. Cover the filling with a small amount of additional rice, ensuring the “vibrant orange” center is completely enclosed.
Cup your top hand into a “roof” shape (a 90-degree angle) and press gently while rotating the rice ball. You are looking for a soft-triangle shape with rounded edges and visible, glistening grains.
The Final Flourish: Nori and Garnish
Take a strip of nori (about 1 inch wide) and wrap it around the base of the triangle. The matte green texture of the nori should contrast sharply with the white rice.
Sprinkle a precise pinch of toasted black sesame seeds over the top apex. Finish with 2-3 micro-thin rings of scallions to match the handheld photo aesthetic.
Pro Tips for Onigiri Success
- Temperature Control: Shape the rice while it is still warm (but not hot). Cold rice loses its elasticity and will crumble when you try to form the triangle.
- The Nori Snap: If you are making these for a portable lunch or dinner, wrap the nori in plastic wrap separately and apply it just before eating to keep it crisp.
- Salt is Key: Don’t skip the salted water on your hands. It acts as the primary seasoning for the rice, as the interior filling is the only other salt source.
- Knife Skills: For the “micro-thin” scallions, use a very sharp chef’s knife and use a “rolling” motion rather than chopping to avoid bruising the delicate greens.
What to Serve with Spicy Tuna Onigiri
These rice balls are a complete meal on their own, but they also pair beautifully with other Japanese-inspired dishes. For a lighter meal, serve them alongside some creative avocado toast for a fusion brunch.
If you are craving a more comforting spread, they work surprisingly well as a side to a creamy tomato spinach pasta or even a hearty beef and garlic sauce pasta. The clean flavors of the rice balance out rich, dairy-heavy dishes.
For those following specific dietary paths, you can adapt the filling ideas from our paleo and dairy-free recipe collection, substituting the mayo for an avocado-based cream.
How to Store and Refresh Your Rice Balls
Spicy Tuna Onigiri are best enjoyed within a few hours of making. If you must store them, wrap each ball tightly in plastic wrap to prevent the rice grains from drying out and losing their glisten.
Store in the refrigerator for up to 24 hours. To refresh, microwave for 15-20 seconds on low power to soften the starch, then add a fresh, crisp nori strip.
Frequently Asked Questions
Yes, but keep the nori seaweed separate until you are ready to eat. This prevents the seaweed from becoming soft and chewy from the moisture of the rice.
Ensure you shape the rice while it is still warm and use salted water on your hands. The salt helps season the rice, while the warmth keeps the starches pliable for a better bind.
Generally, yes, as long as you use pure rice vinegar and gluten-free sriracha. Always check your mayonnaise label, though Kewpie is typically safe.
You must use short-grain white rice, often labeled as sushi rice. Long-grain varieties like Basmati or Jasmine lack the necessary starch to stick together and hold the triangular shape.
This usually happens if the tuna isn’t drained well enough. Make sure to squeeze out all the liquid from the canned tuna before mixing it with the mayo and sriracha.
The Ultimate Spicy Tuna Onigiri Recipe
Spicy Tuna Onigiri: The Ultimate Guide to Perfect Japanese Rice Balls
Ingredients
Equipment
Method
- Rinse short-grain rice in a bowl 4-5 times until water is clear. Soak for 30 minutes before cooking to ensure glistening, plump grains.
- Once cooked, fold in rice vinegar and sugar gently. The rice should look moist and individual grains should be visible.
- Combine drained tuna, sriracha, and Kewpie mayo until a vibrant orange hue is achieved.
- With salted hands, form rice triangles around the filling. Wrap with a nori strip and garnish with black sesame seeds and scallion rings.
Notes
Aggressively drain the tuna to prevent a soggy center.
Closing & Call to Action
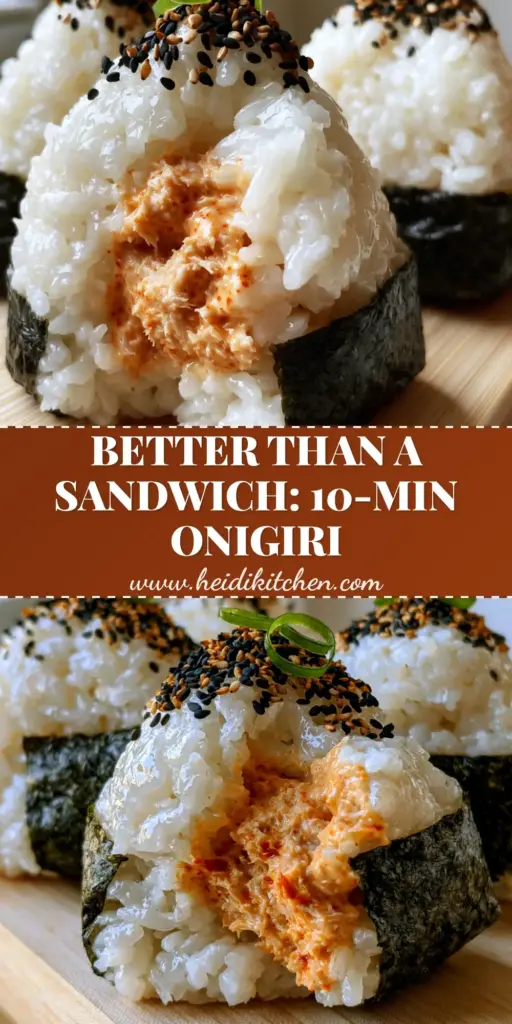
Mastering the Spicy Tuna Onigiri is a rite of passage for any home cook who loves Japanese cuisine. With its glistening rice and creamy, spicy center, it is as beautiful to look at as it is to eat.
If you enjoyed this visual and culinary guide, please leave a comment below and let us know how your triangles turned out! Don’t forget to share your creations and follow us on Pinterest for more bento-box inspiration.