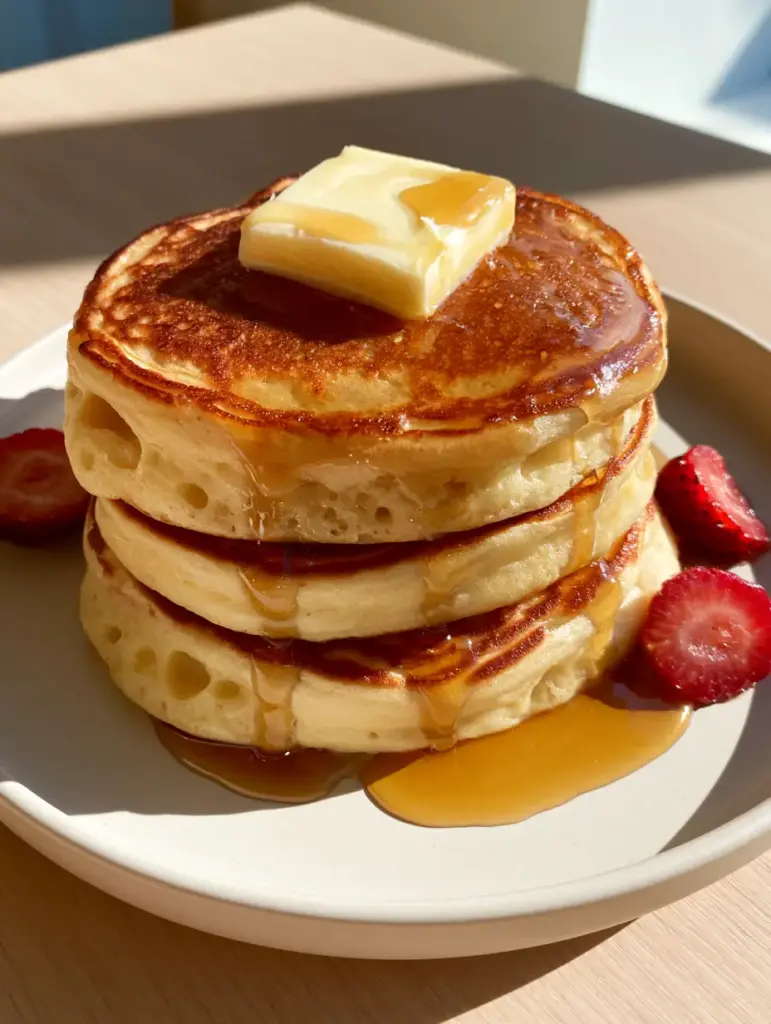
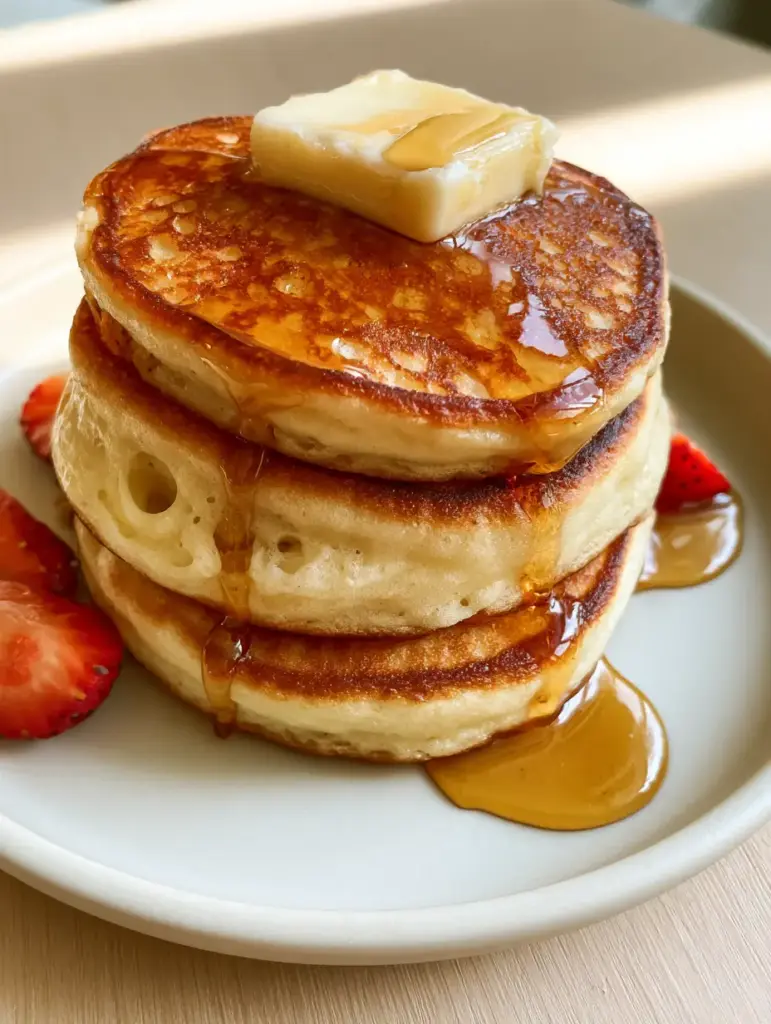
There is nothing quite as nostalgic or satisfying as a towering stack of homemade pancakes catching the soft, diffused light of a Sunday morning. When you imagine the perfect breakfast, you aren’t just thinking of flat cakes; you are picturing three exceptionally thick buttermilk discs with a signature golden-brown seared crust and a cloud-like interior.
Achieving that specific forensic accuracy—where the sides of the pancake showcase visible, porous air pockets—requires more than just a box mix. It requires a deep understanding of leavening science and heat management to create a breakfast that looks like a professional food stylist’s masterpiece.
In this guide, we will break down the culinary mechanics needed to produce a stack so structurally sound it can support a large square of melting salted butter and a heavy pour of glossy amber maple syrup without collapsing. Let’s transform your kitchen into a high-end bistro.
The Secret to Achieving Towering Thick Buttermilk Fluffiness
The hallmark of superior homemade pancakes is the contrast between the resilient, seared exterior and the aerated sponge interior. To achieve this, we rely on the chemical reaction between acidic buttermilk and alkaline leavening agents.
- Unrivaled Height: By using a specific ratio of baking powder and baking soda, we create massive CO2 bubbles that get trapped in the gluten structure.
- Textural Contrast: A high-heat sear in a combination of butter and oil ensures a golden-brown crust while the middle remains a soft, aerated sponge.
- Visual Perfection: We focus on the “mid-drip” aesthetic, ensuring the batter is thick enough to hold its shape but light enough to melt in your mouth.
- Fresh Fruit Balance: The addition of sliced organic strawberries provides a vibrant pop of red and a necessary acid hit to cut through the rich syrup.
The Science Behind Our Invisible Foundation Ingredients
Every ingredient in these homemade pancakes serves a specific forensic purpose to match our visual blueprint. Even the ingredients you can’t “see” in the final photo are doing the heavy lifting behind the scenes.
All-Purpose Flour: 2 cups (250g). This provides the essential protein structure that holds the air pockets open, preventing the stack from deflating under the weight of the syrup.
Buttermilk: 2 cups (480ml). The lactic acid in the buttermilk tenderizes the gluten and reacts with the leavening agents to create that exceptionally thick, cloud-like interior.
Baking Powder & Soda: 2 tsp (10g) and 1/2 tsp (3g). This dual-action approach ensures the pancakes rise immediately upon hitting the heat and continue to expand as they cook.
Granulated Sugar: 2 tbsp (25g). While it adds sweetness, its primary role is caramelization, which helps achieve that perfect golden-brown seared surface through the Maillard reaction.
Melted Salted Butter: 3 tbsp (45g) for the batter. Adding fat directly into the batter ensures a moist crumb and helps the interior mimic the richness of the butter square on top.
Large Egg: 1 unit. The egg acts as a binder, ensuring your three-tier stack has the structural integrity to stand tall on a minimalist ceramic plate.
Vanilla Extract & Sea Salt: 1 tsp (5ml) and 1/2 tsp (3g). These are the flavor enhancers that make homemade pancakes taste as good as they look in a high-resolution smartphone photo.
Tools for the Perfect Professional Sear
To replicate the high-resolution handheld smartphone photo look, you need the right equipment to control the cooking environment. Consistency is key when aiming for three identical, thick cakes.
A heavy-bottomed cast iron griddle or a non-stick pan with a thick base is essential for even heat distribution. This prevents hot spots that could burn the crust before the aerated interior is fully set.
You will also need a wide stainless steel spatula. A wide surface area allows you to flip the thick cakes without disturbing the delicate air pockets visible on the sides.
Lastly, a wire cooling rack is vital. Placing the finished homemade pancakes on a rack instead of a flat plate prevents steam from building up, which would otherwise ruin the seared crust you worked so hard to achieve.
The Step-by-Step Blueprint for Pancake Perfection
Mixing for Maximum Aeration
Whisk your dry ingredients in a large bowl, ensuring the leavening agents are perfectly distributed. In a separate jug, whisk the buttermilk, egg, and melted butter until fully emulsified.
Combine the two using a silicone spatula. The most important rule for homemade pancakes is to stop mixing while there are still small lumps; over-mixing develops gluten, which leads to a rubbery texture rather than a cloud-like sponge.
The Critical Rest Period
Allow the batter to rest for at least 10 minutes at room temperature. This allows the flour to fully hydrate and the buttermilk to begin reacting with the baking soda, creating the porous air pockets we want to see on the sides.
You will notice the batter becoming thick and slightly bubbly. This is the visual cue that your homemade pancakes are ready to be transformed into a towering stack.
Achieving the Signature Golden-Brown Crust
Heat your griddle over medium-low heat. Add a tiny amount of neutral oil followed by a small knob of butter; the oil raises the smoke point, allowing the butter to flavor the crust without burning.
Ladle approximately 1/2 cup (120ml) of batter onto the pan. Look for the “Visual & Sensory Cues”: wait for large bubbles to form and pop on the surface, and ensure the edges look set and matte before flipping.
Flip once and sear until a deep golden-brown crust forms on the second side. The pancakes should be approximately 1 inch (2.5cm) thick at this stage.
Pro Tips for Restaurant-Quality Results
- Temperature Control: If your pancakes are browning too fast but staying raw inside, lower the heat. A slow sear is the secret to height.
- Wipe the Pan: Between batches, wipe the pan clean and add fresh fat. This prevents burnt butter bits from ruining the golden-brown surface of your homemade pancakes.
- The Butter Square: Use cold salted butter for the topping. As it sits on the hot stack, it will partially liquefy, creating the beautiful visual of melting fat captured in the prompt.
- Syrup Temperature: Slightly warm your amber maple syrup before pouring. This ensures it has the perfect viscosity to cling to the edges mid-drip.
Storage and Reheating Guide
If you have leftovers from your homemade pancakes session, they store remarkably well. Wrap them tightly in plastic wrap or place them in an airtight container for up to 3 days in the refrigerator.
To maintain the seared crust, avoid the microwave if possible. Instead, reheat them in a dry pan over low heat or in a toaster oven until the exterior crisps back up and the interior is heated through.
For long-term storage, flash-freeze the pancakes on a baking sheet before transferring them to a freezer bag. They can be toasted directly from frozen for a quick weekday breakfast.
Perfect Pairings for Your Morning Feast
While a stack of three thick pancakes is a meal in itself, you can elevate the experience by serving them alongside other brunch classics. If you are looking for a savory contrast, consider some creative avocado toast ideas to balance the sweetness of the syrup.
For those following specific dietary paths, you might enjoy comparing these to paleo dairy-free recipes to see how different leavening agents behave. If you’re hosting a large brunch that transitions into the afternoon, these pancakes pair surprisingly well with a light authentic Italian recipe spread.
Your Burning Questions Answered
You can, but the pancakes won’t be as thick or tender. If you don’t have buttermilk, add 1 tablespoon of lemon juice or vinegar to 1 cup of regular milk and let it sit for 5 minutes to mimic the acidity.
The secret is medium-low heat and a combination of butter and oil. The oil prevents the butter from burning, allowing the pancake to sear long enough to develop a deep color without scorching.
Visible air pockets are a result of a thick batter and high leavening. Don’t press down on the pancake with your spatula after flipping, as this collapses the aerated structure.
Flat pancakes are usually caused by over-mixing the batter, which destroys air bubbles, or using expired baking powder. Ensure you leave lumps in the batter and rest it for 10 minutes before cooking.
Your pan temperature is likely too high. The outside sears before the heat can penetrate the center of the thick batter. Lower the heat and cook the pancakes more slowly to ensure a fully set sponge interior.
The Ultimate Homemade Pancake Recipe
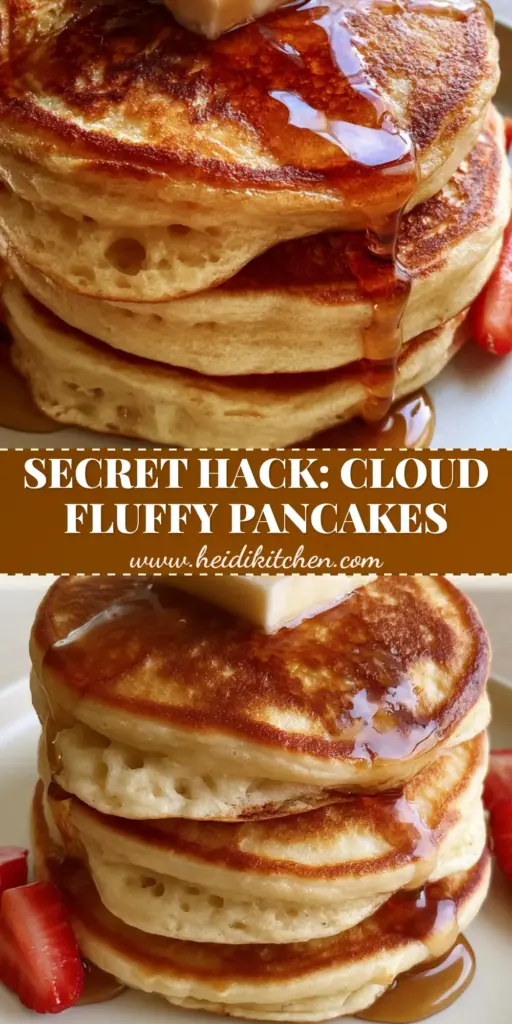
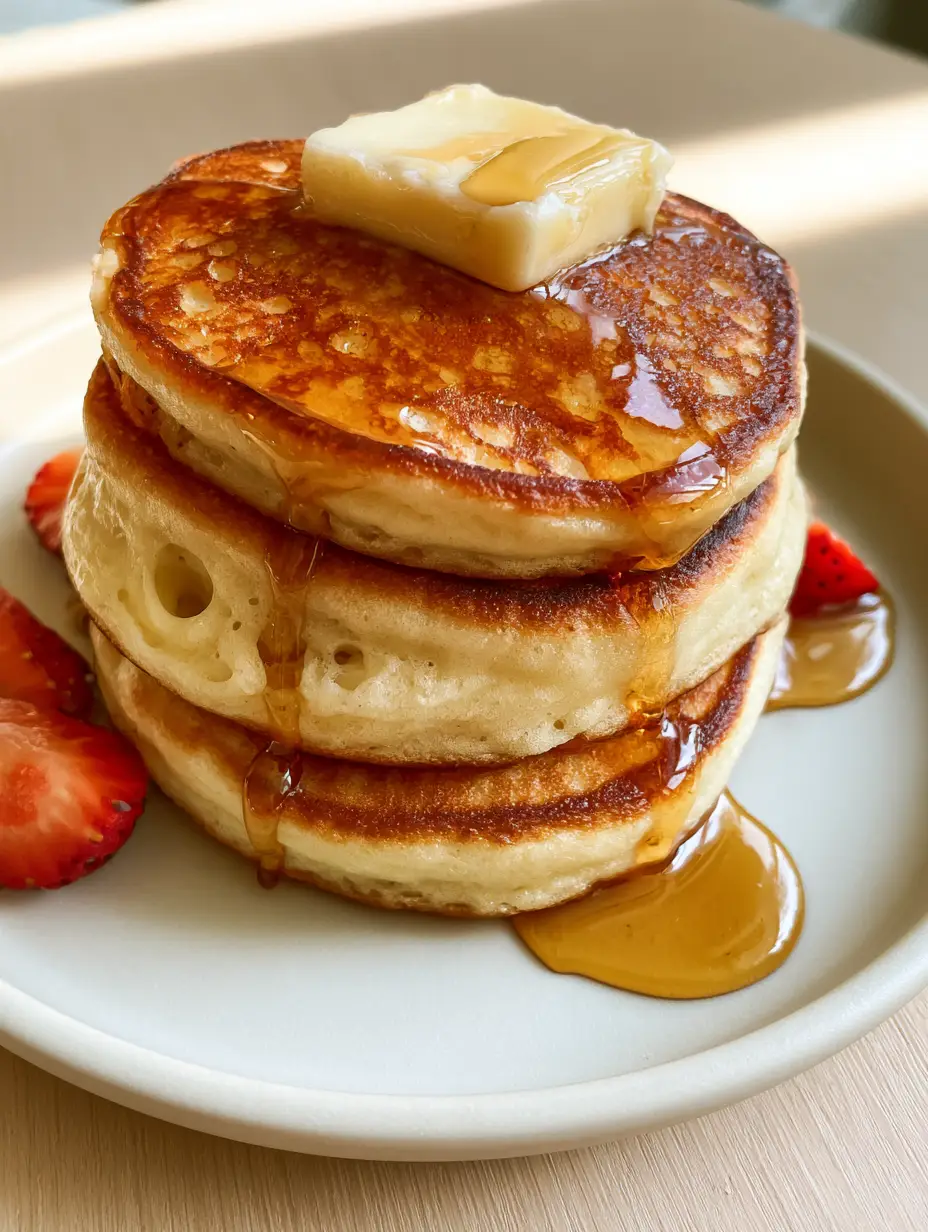
Homemade Pancakes: The Ultimate Thick Buttermilk Recipe for a Golden-Brown Stack
Ingredients
Equipment
Method
- In a large bowl, whisk together flour, baking powder, baking soda, sugar, and salt until well combined.
- In a separate jug, whisk buttermilk, egg, melted butter, and vanilla extract until smooth.
- Gently fold the wet ingredients into the dry ingredients. Stop while small lumps remain. Let the batter rest for 10 minutes to allow air pockets to form.
- Preheat your pan over medium-low heat with a small amount of oil and butter.
- Ladle 1/2 cup of batter per pancake. Cook until the surface has popped bubbles and the edges look matte.
- Flip carefully and sear until the underside is golden-brown and the interior is springy. Stack three high.
- Place a large square of salted butter on top. Pour thick maple syrup over the edges and garnish with fresh strawberry halves.
Notes
Resting the batter for 10 minutes allows the leavening agents to activate for maximum height.
Closing & Call to Action
Creating the perfect stack of homemade pancakes is a culinary art form that relies on precision and patience. By following this forensic blueprint, you’ve ensured a breakfast that isn’t just edible, but a visual and textural masterpiece.
We would love to see your towering stacks! Tag us in your photos or leave a comment below letting us know how your golden-brown crust turned out. Don’t forget to save this recipe to your favorite breakfast board by following us at Pinterest.