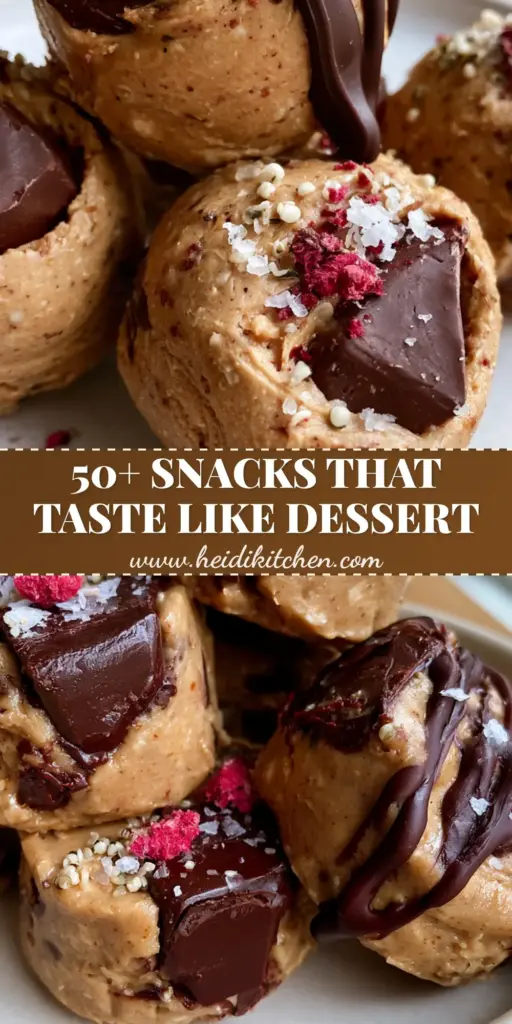
When searching for the ultimate snack recipes, we often find ourselves caught between the desire for deep, indulgent flavor and the biological need for sustained energy. These High-Protein Peanut Butter Cookie Dough Bites are the forensic answer to that culinary dilemma, blending the dense, creamy texture of whipped peanut butter with the structural integrity of high-quality whey protein.
Imagine biting into a thick, matte-textured morsel that feels like traditional cookie dough but is engineered for peak performance. These bites are speckled with oversized dark chocolate chunks and tiny, nutrient-dense hemp seeds, creating a multi-sensory experience that satisfies both the palate and the macros.
The visual appeal of these snack recipes is undeniable, featuring a perfectly hardened, glossy dark chocolate ribbon and a vibrant dusting of crushed freeze-dried raspberries. Each bite is finished with coarse flaky sea salt, which cuts through the richness of the peanut butter to provide a balanced, gourmet finish that looks as if it were plucked straight from a professional pastry kitchen.
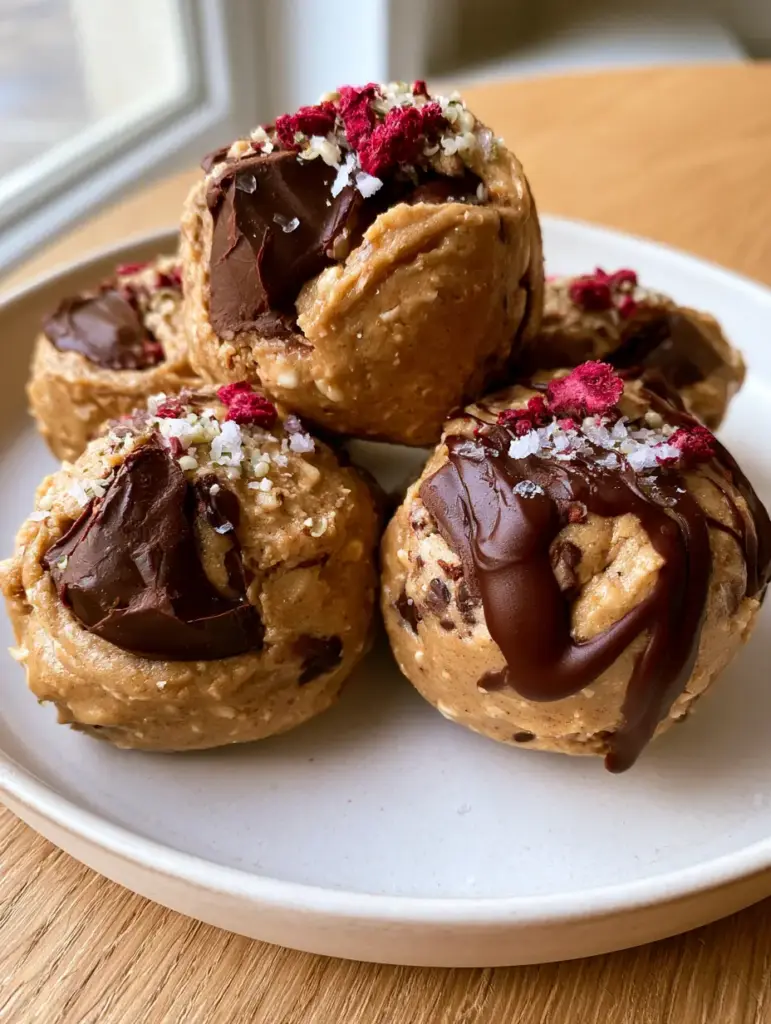
Why These Peanut Butter Bites Are the Ultimate Snack Recipes
- Textural Contrast: Experience the interplay between the “grit” of wholesome rolled oats and the silky-smooth, creamy peanut butter base.
- High-Protein Fuel: Each bite is fortified with whey protein and hemp seeds, making them far more satiating than standard sugary snacks.
- Gourmet Aesthetics: The combination of glossy chocolate drizzle and bright pink raspberry crumbs ensures these look stunning on any plate.
- No-Bake Simplicity: These snack recipes require zero oven time, preserving the nutritional integrity of the ingredients while saving energy.
- Balanced Flavor Profile: The bitterness of dark chocolate and the tartness of raspberries are expertly tied together by a finish of flaky sea salt.
The Scientific Foundation of Your Protein-Packed Snack Recipes
1 cup (250g) Creamy Peanut Butter: The primary lipid and protein source, providing the “sticky” matrix that holds the bites together. Ensure you use a well-stirred, creamy variety to achieve the smooth texture seen in the visual blueprint.
1/2 cup (60g) Vanilla Whey Protein Powder: Acts as the dry structural agent, absorbing moisture from the peanut butter to create a dense, “dough-like” consistency without the need for flour.
3/4 cup (70g) Rolled Oats: These provide the necessary “grit” and fiber, giving the bites a hearty, rustic feel that contrasts with the creamy base.
1/3 cup (60g) Dark Chocolate Chunks: Use large, semi-sweet chunks to provide substantial “snaps” of chocolate throughout the dense dough.
2 tbsp (20g) Hemp Seeds: These tiny white seeds add a nutty flavor and a subtle crunch, visible as small white specks in the final product.
1/4 cup (60ml) Maple Syrup: A foundational liquid sweetener that helps bind the protein powder and oats while providing a hint of caramel-like depth.
1/2 tsp (3g) Fine Sea Salt: An invisible but essential ingredient to enhance the natural nuttiness of the peanut butter and the sweetness of the chocolate.
2 tbsp (30g) Dark Chocolate Chips + 1 tsp (5ml) Coconut Oil: Melted together to create the “glossy melted chocolate drizzle” that hardens with a professional sheen.
1 tsp (2g) Crushed Freeze-Dried Raspberries: Provides a pop of vibrant color and a sharp, acidic contrast to the rich peanut butter.
1/2 tsp (2g) Flaky Sea Salt: The final garnish, providing a coarse texture and a burst of salinity to balance the palate.
Essential Tools for Creating Professional Quality Snacks at Home
To achieve the specific aesthetic of these snack recipes, you will need a few key pieces of kitchen equipment. A large mixing bowl is essential for folding the heavy dough, while a silicone spatula allows you to scrape every bit of creamy peanut butter from the sides.
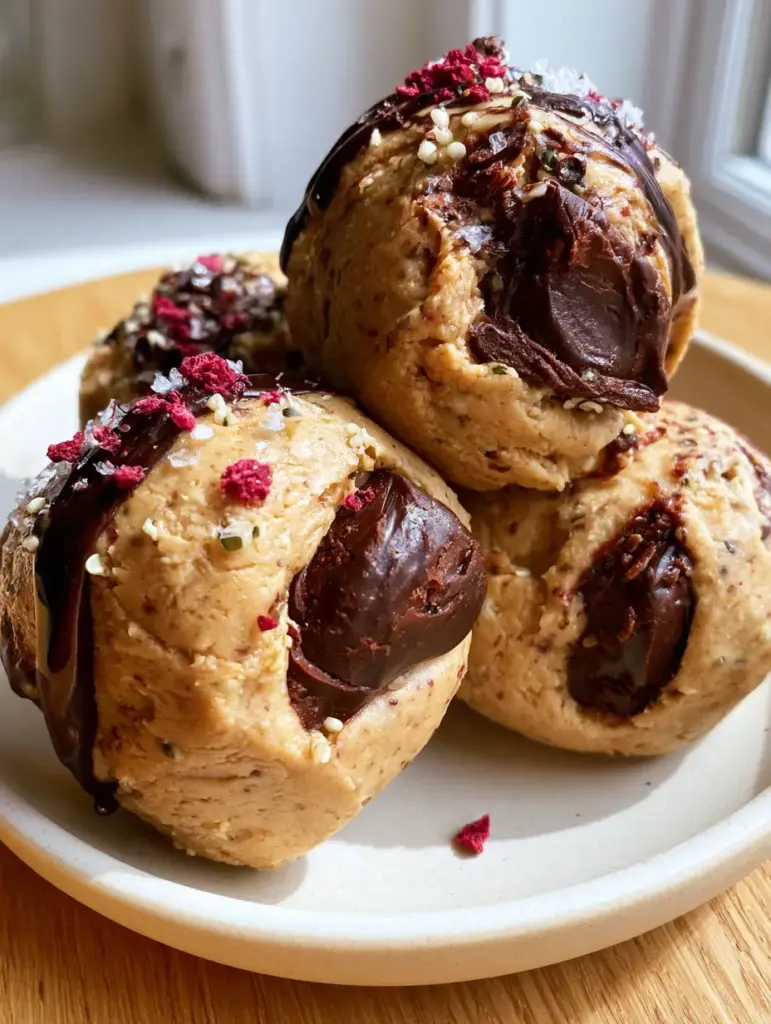
For the glossy drizzle, a small microwave-safe glass bowl is ideal for gently tempering the chocolate and coconut oil. To get the perfect “cluster” look described in our visual prompt, a small cookie scoop or a tablespoon will help you portion the dough into consistent, thick bites before hand-rolling them into their slightly irregular, matte shapes.
Mastering the Perfect Texture: A Detailed Guide
Phase 1: Creaming the High-Protein Base
In your large mixing bowl, combine the 1 cup (250g) of creamy peanut butter with the 1/4 cup (60ml) of maple syrup. Whisk these together until the mixture is glossy and completely emulsified, ensuring there is no oil separation from the peanut butter.
Slowly fold in the 1/2 cup (60g) of whey protein powder and the 1/2 tsp (3g) of fine sea salt. The mixture will quickly transform from a liquid to a thick, matte paste; continue stirring until no white streaks of protein powder remain.
Phase 2: Incorporating the Textural Elements
Add the 3/4 cup (70g) of rolled oats and 2 tbsp (20g) of hemp seeds to the bowl. Use a folding motion to ensure the oats are evenly distributed, creating that signature “grit” and speckled appearance.
Gently fold in the 1/3 cup (60g) of dark chocolate chunks. Be careful not to overwork the dough at this stage, as you want the chocolate chunks to remain distinct and visible within the protein bites.
Phase 3: Shaping and Chilling
Portion the dough into five large, thick bites, approximately 2 inches in diameter. Roll them gently between your palms to form a ball, then press slightly onto a matte white ceramic plate to create a flat bottom and a slightly irregular surface.
Place the plate in the refrigerator for 15-20 minutes. This “sets” the fats in the peanut butter, ensuring the bites have the dense, sturdy structure required for a premium snack experience.
Phase 4: The Finishing Aesthetic Touches
While the bites chill, melt the 2 tbsp (30g) of dark chocolate chips and 1 tsp (5ml) of coconut oil in short 20-second bursts in the microwave. Stir until the mixture is perfectly smooth and glossy.
Using a spoon, create a thin, dark chocolate ribbon drizzle over one of the bites. Immediately garnish the entire cluster with a light dusting of coarse flaky sea salt and the crushed freeze-dried raspberry crumbs while the chocolate is still wet.
Expert Secrets for No-Bake Success
- The Drizzle Secret: Always add a tiny amount of coconut oil to your melting chocolate. This lowers the melting point and creates that professional “glossy” finish that won’t turn chalky when it hardens.
- Oat Choice: Use Old Fashioned Rolled Oats rather than Quick Oats. The larger flakes provide the “visual grit” and superior chew that defines high-quality snack recipes.
- Protein Selection: Whey protein works best for this texture. If you use plant-based protein, you may need to add an extra tablespoon of peanut butter, as plant proteins tend to be more absorbent and “thirsty.”
- The Temperature Factor: If your dough is too soft to roll, chill the entire bowl for 10 minutes before shaping. This makes the peanut butter easier to handle without it sticking to your hands.
Preserving Freshness: Storage and Freezing
These protein bites are among the most durable snack recipes you can make. Store them in an airtight container in the refrigerator for up to 10 days. The cold temperature maintains the dense, fudgy texture and prevents the chocolate chunks from softening.
For long-term storage, these bites freeze beautifully. Place them on a parchment-lined tray until solid, then transfer to a freezer-safe bag for up to 3 months. Simply thaw for 5 minutes at room temperature before enjoying to regain that perfect bite-through consistency.
Elevate Your Menu: What to Pair with These Bites
While these bites are a powerhouse on their own, they fit perfectly into a broader meal plan. If you are looking for more dairy-free snack recipes, you can easily swap the whey for a paleo-friendly collagen or pea protein.
In the morning, pair these with one of our favorite nutritious breakfast ideas for a double-dose of healthy fats and protein. If you are hosting a brunch, they serve as a fantastic sweet treat alongside a fluffy pancake stack.
For those who need a post-workout recovery snack after a light dinner of weekly meal planning favorites, these bites provide the perfect ratio of carbohydrates and protein. They even hold their own next to salty favorites like easy snack recipes during a weekend game night.
Common Questions About No-Bake Snack Recipes
These bites are gluten-free as long as you use certified gluten-free rolled oats and a gluten-free protein powder.
Yes, but you will need to replace the protein powder with 1/2 cup of oat flour or almond flour to maintain the structural integrity and dense texture of the dough.
The secret is adding a small amount of coconut oil to the chocolate chips. This prevents the chocolate from blooming and ensures a professional shine once set.
Place the dried raspberries in a small parchment paper fold and crush them with the back of a spoon to create fine crumbs and small chunks for a variety of texture.
If the dough is too sticky, it is likely because the peanut butter was very oily. Chill the dough in the refrigerator for 15 minutes to firm up the fats before rolling.
The Ultimate High-Protein Peanut Butter Snack Card
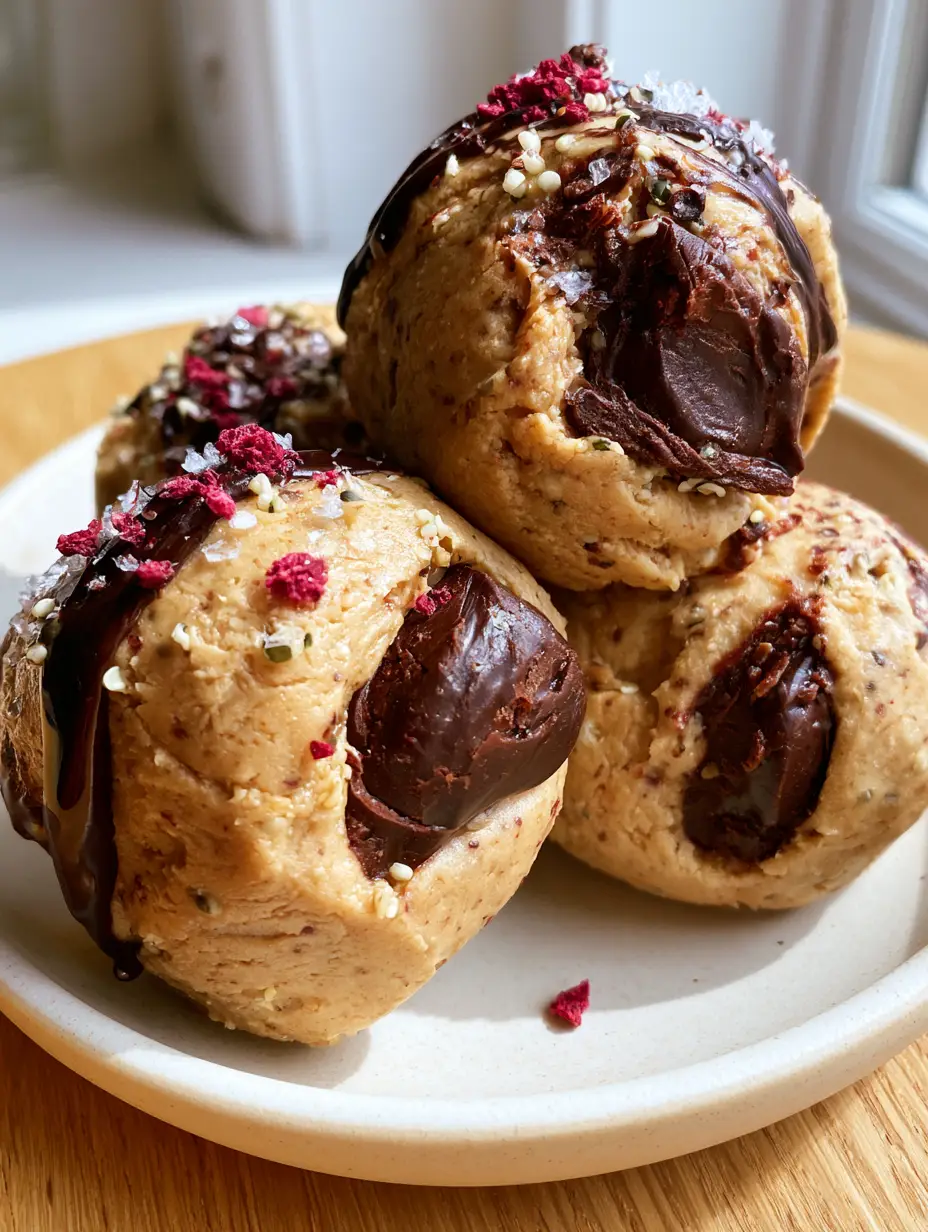
Snack Recipes: High-Protein Peanut Butter Cookie Dough Bites
Ingredients
Equipment
Method
- Whisk creamy peanut butter and maple syrup in a large bowl until smooth. Fold in whey protein and fine sea salt until a dense, matte paste forms.
- Stir in the rolled oats, hemp seeds, and dark chocolate chunks until evenly distributed throughout the dough.
- Form the mixture into 5 thick, slightly irregular balls and place them on a matte white plate.
- Melt chocolate chips with coconut oil until glossy. Drizzle over one bite. Sprinkle all bites with crushed raspberries and flaky sea salt.
Notes
If the dough is too sticky, refrigerate for 10 minutes before rolling.
A Balanced Bite for a Busy Lifestyle
These High-Protein Peanut Butter Cookie Dough Bites prove that snack recipes don’t have to be complicated to be extraordinary. By focusing on high-quality ingredients like creamy peanut butter, dark chocolate, and tart raspberries, you can create a snack that feels like a luxury but fuels like a meal.
We invite you to try this recipe and share your results! Did you get that perfect glossy drizzle? Let us know in the comments below. Don’t forget to save this recipe to your “Healthy Snacks” board on Pinterest so you always have it on hand when cravings strike.