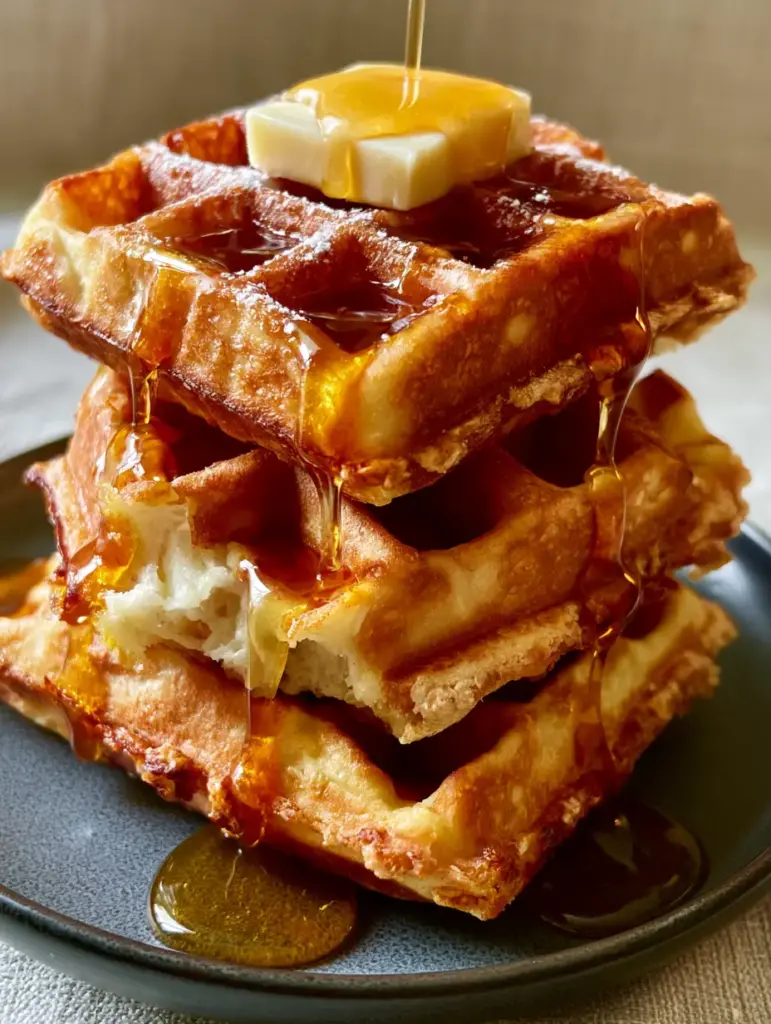
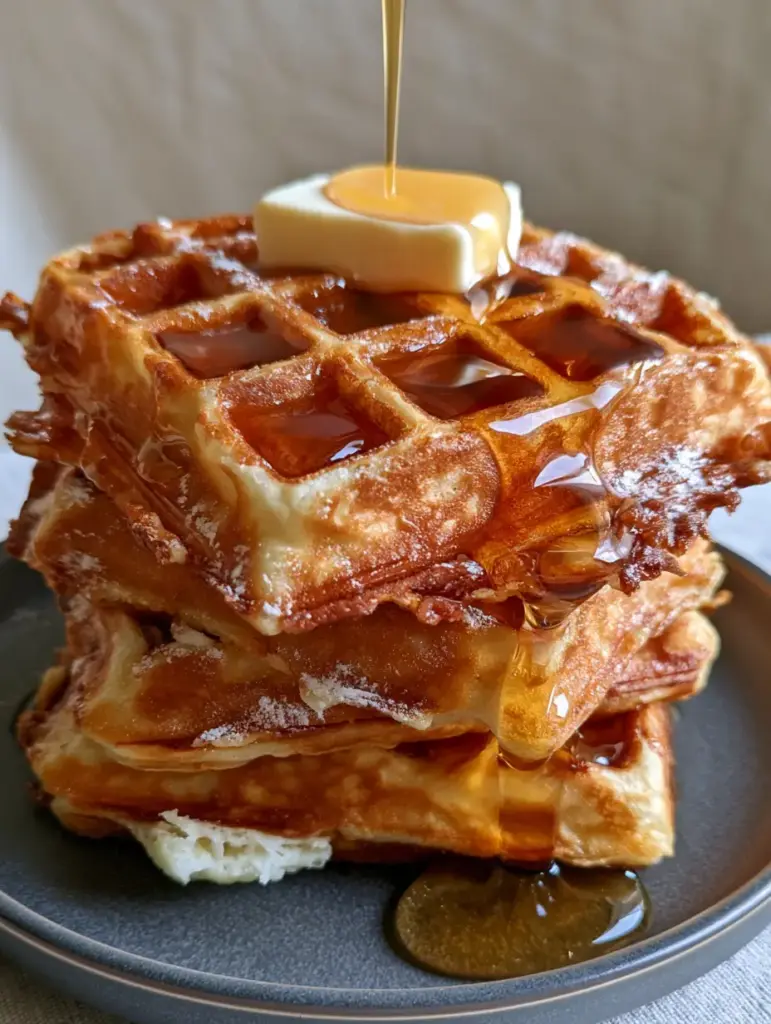
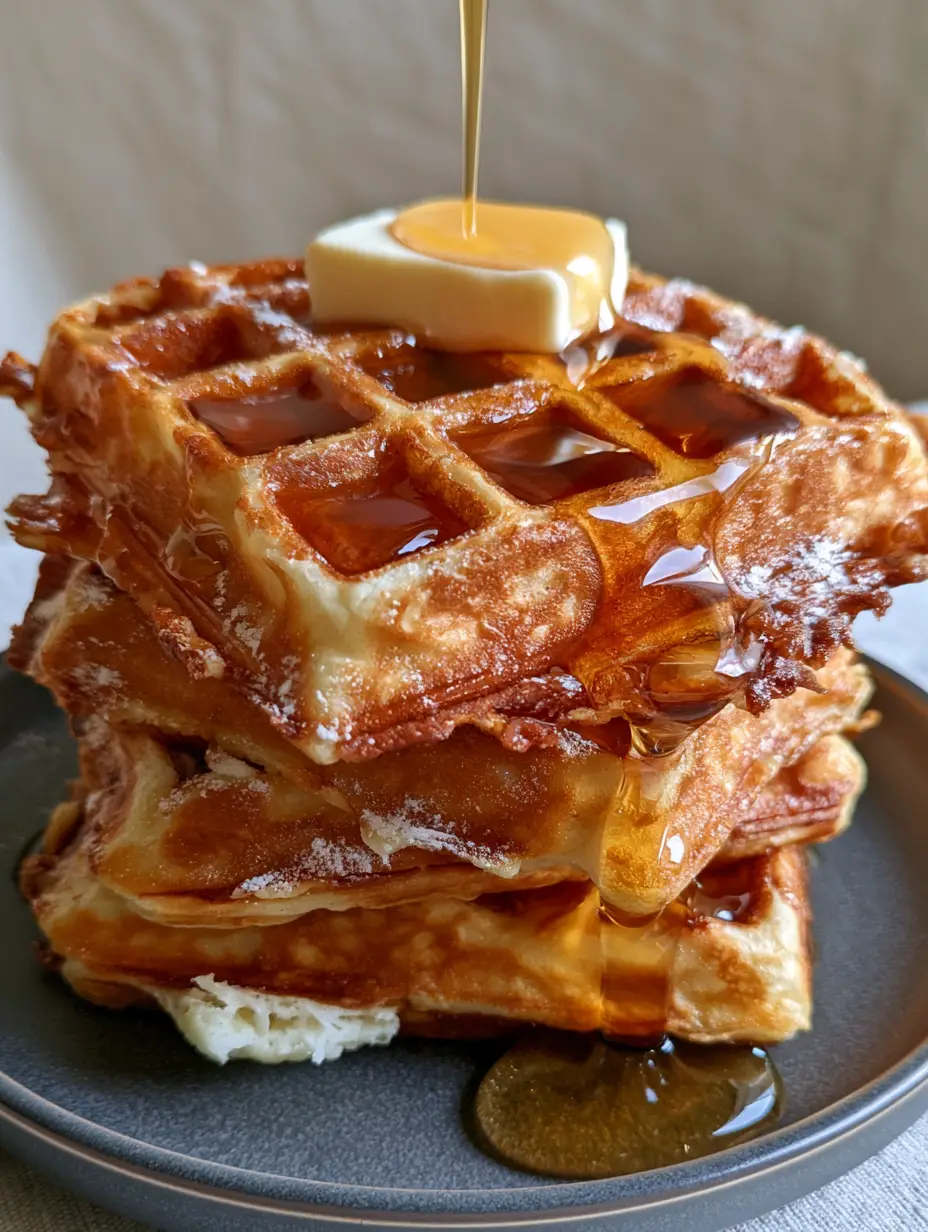
There is a specific, almost architectural beauty in a stack of perfectly crafted fluffy waffles. We aren’t talking about the limp, pale circles often found in frozen aisles; we are discussing a majestic stack of three thick Belgian waffles, boasting cavernous square grids designed to house pools of liquid gold. When you pull these from the iron, they should possess a deep golden-brown crispy crust that crackles under a fork, giving way to a steaming, snowy white, and airy interior.
Achieving this visual and sensory masterpiece requires more than just a box mix. It requires an understanding of culinary leavening and moisture evaporation. By the time you finish this guide, you will be able to recreate the exact scene described in our blueprint: a thick slab of melting salted butter glistening atop a warm stack, drenched in high-viscosity amber maple syrup and finished with a microscopic dusting of powdered sugar flakes, all served on a sophisticated matte charcoal stoneware plate.
The Science Behind the Perfect Visual Contrast
To achieve the “forensic visual accuracy” of our blueprint, we focus on three pillars of waffle physics: the crust, the crumb, and the soak. The fluffy waffles of your dreams rely on a specific ratio of fats to starches to ensure that the exterior dehydrates into a jagged, crispy shell while the interior remains hydrated and soft.
- The Crispy Jagged Edge: A combination of cornstarch and high-heat fat (melted butter) ensures that the batter fries against the iron rather than just baking, creating that sought-after golden-brown hue.
- The Snowy White Interior: By separating the eggs and whipping the whites to stiff peaks before folding them in, we trap micro-bubbles of air that expand rapidly, creating a cloud-like texture that contrasts beautifully with the dark crust.
- The Deep Cavernous Grids: Using a dedicated Belgian waffle iron with deep wells is essential for creating the “pools” of syrup seen in professional food photography.
Essential Components for High-End Waffle Artistry
Every ingredient in this list serves a dual purpose: structural integrity and visual appeal. We do not use “invisible” ingredients without reason; every pinch of salt and gram of flour is calculated for the ultimate fluffy waffles experience.
All-Purpose Flour: 2 cups (250g). This provides the protein structure (gluten) necessary to hold the tall, thick shape of a Belgian waffle without collapsing under the weight of the syrup.
Cornstarch: 1/2 cup (60g). The secret to a long-lasting crunch; cornstarch interferes with gluten development just enough to ensure the crust stays crispy even as it cools.
Buttermilk: 1 3/4 cups (420ml). The acidity in buttermilk reacts with the leavening agents to create massive lift, while also providing a slight tang that balances the sweetness of the syrup.
Unsalted Butter (Melted): 1/2 cup (115g). Fat is the heat conductor that sears the batter against the iron, resulting in that deep golden-brown toasted finish described in our visual prompt.
Egg Whites: 2 large (60g). These must be beaten separately to create the “snowy white interior” that is a hallmark of elite breakfast recipes.
Granulated Sugar: 2 tbsp (25g). Sugar aids in caramelization (the Maillard reaction), which is responsible for the rich, toasted brown color of the waffle’s exterior.
Baking Powder & Soda: 1 tbsp (15g) and 1/2 tsp (2.5g). This duo provides the immediate chemical lift required to fill the deep grids of the Belgian iron completely.
Pure Vanilla Extract: 1 tsp (5ml). While invisible to the eye, the aroma of vanilla enhances the sensory experience of “natural morning light” and cozy breakfast settings.
Fine Sea Salt: 1/2 tsp (3g). Essential for balancing the sugars and highlighting the rich dairy notes of the butter.
Professional Tools for Majestic Results
To match the Midjourney visual prompt, your equipment choice is non-negotiable. You cannot achieve deep, cavernous grids with a standard thin waffle iron. You need a dedicated Belgian Waffle Maker, preferably one that flips to ensure even batter distribution and a consistent toasted crust on both sides.
You will also need a fine-mesh sieve for the “microscopic dusting of powdered sugar” and a high-quality whisk or stand mixer to achieve the stiff peaks in your egg whites. Finally, for the plating, a matte charcoal ceramic plate is required to provide the high-contrast background that makes the amber syrup and white sugar flakes pop visually.
Step-by-Step Construction of the Fluffy Waffle Stack
Phase 1: The Dry Aeration
In a large mixing bowl, sift together the flour, cornstarch, sugar, baking powder, baking soda, and salt. Sifting is a vital step often skipped; it aerates the flour, ensuring there are no clumps, which contributes to the “airy interior” mentioned in our culinary forensics analysis.
Phase 2: The Liquid Emulsion
Whisk the buttermilk, melted butter, egg yolks, and vanilla extract in a separate jug. Slowly pour the wet ingredients into the dry ingredients. Stir gently with a spatula just until combined; a few lumps are perfectly fine and actually help maintain the fluffy waffles texture.
Phase 3: The Meringue Fold
In a clean glass bowl, beat the egg whites until stiff peaks form—they should look like glossy, white clouds. Gently fold these whites into the batter using a wide spatula. Do not overmix, or you will deflate the air you just worked so hard to incorporate.
Phase 4: The High-Heat Sear
Preheat your Belgian iron to its highest setting. Lightly brush with a high-smoke point oil if not non-stick. Pour the batter into the center, allowing it to spread to the edges. Close the lid and cook until the steam stops escaping—this is the visual and auditory cue that the interior is set and the crust is crispy. Look for a deep golden-brown toasted exterior.
Expert Tips for Culinary Excellence
- The Steam Cue: Never open your waffle iron until the visible steam has completely dissipated. Opening it too early will tear the delicate, snowy white interior before it has a chance to set.
- The Oven Crisp: For the ultimate crispy, jagged edges, place finished waffles on a wire rack in a 200°F (95°C) oven for 5 minutes. This allows residual moisture to evaporate, hardening the crust.
- The Butter Temperature: Ensure your salted butter slab is at room temperature before placing it on the stack so it begins “partially melting and glistening” immediately upon contact.
- The Syrup Viscosity: Use real Grade A Amber maple syrup. If it’s too thin, warm it slightly in a saucepan to increase its flow, creating those thick, glossy ribbons captured mid-drip.
Creative Variations and Internal Pairings
While this classic recipe is a masterpiece on its own, you might occasionally want to venture into different flavor profiles. If you enjoy a more protein-forward start to your day, you might try these nutty peanut butter variations for a richer crumb. For those looking for a vibrant, naturally colored twist, our beet and banana waffle option offers a stunning visual alternative.
If you are hosting a large brunch, consider balancing the sweetness of these waffles with some savory avocado toast options. For those following a dairy-free lifestyle, many of the techniques used here—like the whipped egg whites—can be adapted using almond milk and coconut oil to maintain that fluffy waffles signature texture.
If you find yourself craving this stack for dinner (a “breakfast for dinner” classic), why not pair it with a stack of homemade pancakes for a full griddle feast? The contrast between the crispy waffle and the soft pancake is a textural delight.
Practical Storage and Reheating Advice
If you have leftover fluffy waffles, do not throw them away. They freeze exceptionally well. Allow them to cool completely on a wire rack to prevent sogginess, then wrap them individually in plastic wrap and store in a freezer-safe bag for up to 3 months.
To reheat and regain that crispy, golden-brown crust, avoid the microwave. Instead, pop the frozen waffles directly into a toaster or a 350°F (175°C) oven for 8-10 minutes. This restores the crunch while keeping the interior fluffy and steaming.
Frequently Asked Questions
You can, but the waffles will be less fluffy. Buttermilk reacts with baking soda to create lift. If you use regular milk, add a teaspoon of lemon juice to mimic the acidity.
Use a combination of cornstarch in the flour and a high-heat fat like melted butter. Additionally, ensure your iron is fully preheated and leave the waffle in until the steam stops escaping.
To maintain the crispy, toasted golden-brown crust, reheat them in a toaster or oven at 350°F (175°C). Avoid the microwave as it makes them chewy and tough.
The most common reason is overmixing the batter or failing to whip the egg whites. For a snowy white, airy interior, you must beat the whites to stiff peaks and gently fold them in to preserve the air bubbles.
This usually happens if the iron isn’t hot enough or if there isn’t enough fat in the batter. Ensure your melted butter is fully incorporated and the iron is ‘screaming hot’ before pouring.
The Master Recipe for Fluffy Belgian Waffles
Fluffy Waffles: The Ultimate Guide to Crispy, Deep-Grid Belgian Perfection
Ingredients
Equipment
Method
- Sift flour, cornstarch, sugar, baking powder, baking soda, and salt into a large bowl.
- In a separate jug, whisk buttermilk, melted butter, egg yolks, and vanilla.
- Beat egg whites until stiff peaks form. They should be snowy white and hold their shape.
- Combine wet and dry ingredients gently, then fold in the whipped egg whites with a spatula.
- Pour batter into a hot Belgian iron. Cook until deep golden-brown and crispy.
- Stack three waffles on a charcoal plate. Top with a slab of salted butter, pour amber syrup, and dust with powdered sugar.
Notes
Don't stack waffles directly on top of each other until serving to maintain the crispy edges.
Mastering the Art of the Morning Stack
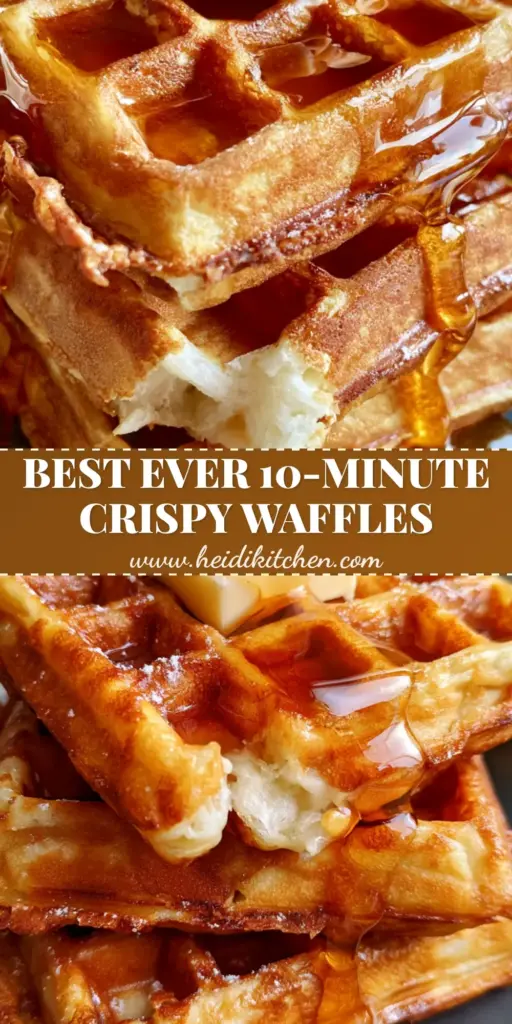
Creating the perfect stack of fluffy waffles is a culinary victory that appeals to all the senses. From the directional natural morning light hitting the glossy amber syrup to the microscopic dusting of powdered sugar that looks like fresh snow, this dish is as much a visual triumph as it is a gastronomic one. The contrast of the matte charcoal plate against the golden-brown crust ensures your breakfast looks like it belongs in a high-end editorial.
We invite you to share your results! Did you get that perfect mid-drip syrup shot? Let us know in the comments below. Don’t forget to follow us on Pinterest for more visual recipe blueprints and breakfast inspiration. Tag your photos so we can see your majestic stacks!