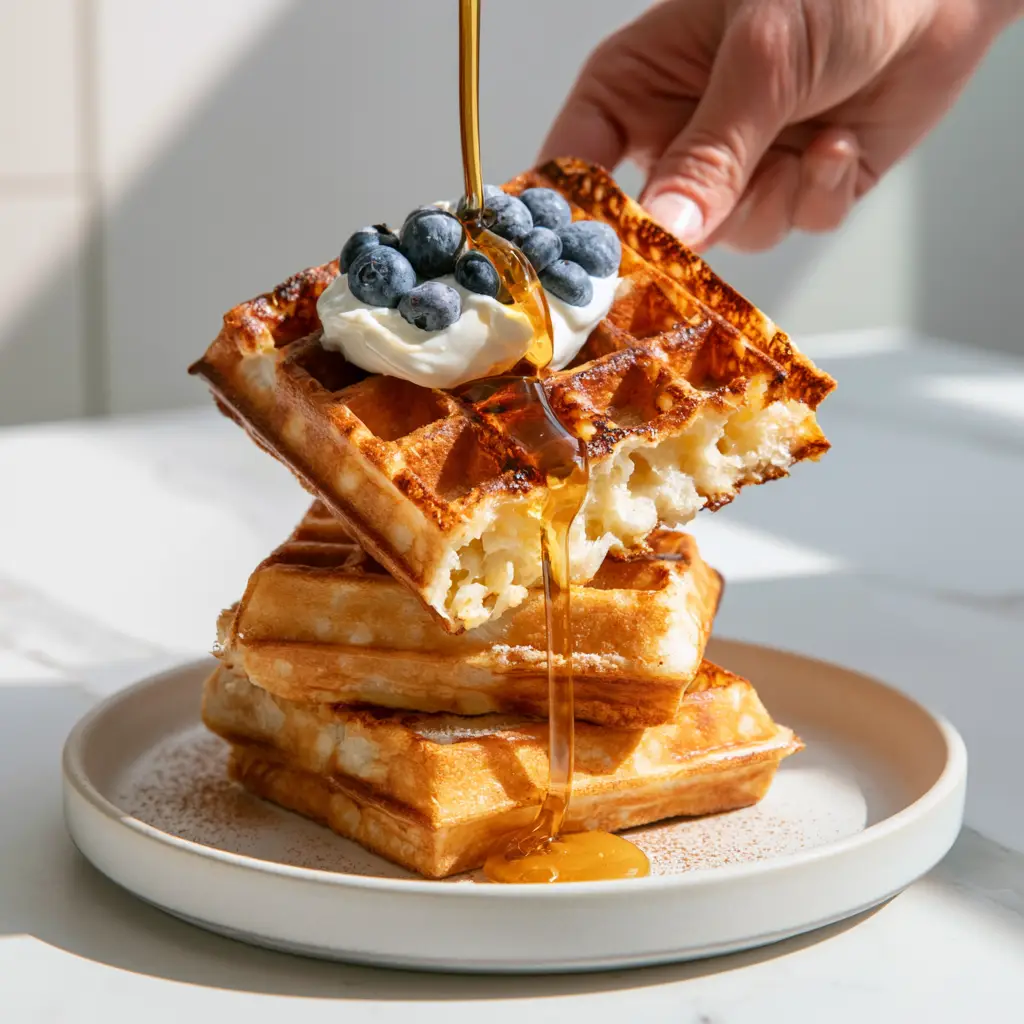
There is a specific, golden-hour magic that happens when Greek Yogurt Waffles hit the table. Imagine a crisp, toasted exterior that shatters under a fork, giving way to an interior so light and steaming that you can see the visible air pockets. This isn’t just a basic breakfast; it’s a sensory experience designed to mimic that perfect morning light hitting a minimalist marble countertop.
By incorporating thick, tangy Greek yogurt directly into the batter, we achieve a structural integrity that standard recipes lack. The acidity of the yogurt reacts with leavening agents to create a massive lift, resulting in a thick Belgian-style stack that stands tall. Whether you are craving a cozy weekend brunch or a high-protein start to your Tuesday, these Greek Yogurt Waffles deliver on every culinary promise.
In this guide, we will break down the science of the “airy crumb,” the physics of the perfect maple syrup pour, and how to achieve that professional “dusted” cinnamon look. Get ready to transform your kitchen into a high-end bistro with a recipe that looks exactly like a professional food photograph.
Why These Protein-Rich Waffles Outperform Traditional Recipes
- Unrivaled Texture: The combination of Greek yogurt and specific leavening agents creates a steaming, airy interior with visible air pockets.
- Golden-Brown Precision: We use a specific ratio of fats to ensure a deep, toasted golden-brown crust that stays crisp under heavy toppings.
- Visual Gourmet Appeal: Designed to be topped with a thick dollop of yogurt, plump blueberries, and a viscous amber syrup drizzle.
- Satiety & Nutrition: The added protein from the yogurt makes these waffles significantly more filling than flour-heavy alternatives.
The Anatomy of a Perfect Greek Yogurt Waffle Batter
Creating the ultimate Greek Yogurt Waffles requires understanding how each ingredient contributes to the final visual and textural result. We aren’t just mixing batter; we are engineered a structural masterpiece that supports heavy syrups and fresh fruit.
All-Purpose Flour: 2 cups (250g). This provides the essential gluten structure needed to trap the steam and create those fluffy internal caverns. If you are looking for alternatives, you might find inspiration in our gluten-free snack recipes for flour-swapping tips.
Greek Yogurt: 1 cup (245g). Use a thick, plain variety to provide the moisture and acidity required for the rise. This is what gives the waffle its “tang” and creates the foundation for the dollop on top.
Whole Milk: 1 cup (240ml). Milk thins the thick yogurt just enough to create a pourable batter while adding natural sugars for better browning. For a different flavor profile, some cooks experiment with nut milks similar to those used in chocolate almond oat waffles.
Large Eggs: 2 units. Eggs act as the binder and provide the “lift” as they cook, ensuring the waffles don’t collapse when you pull them apart. They are the “glue” of the breakfast world.
Unsalted Melted Butter: 1/4 cup (56g). Fat is the conductor of heat, allowing the edges to become perfectly crisp and toasted in the iron. This prevents sticking and adds that classic “Belgian” flavor profile.
Baking Powder & Baking Soda: 2 tsp (10g) & 1/2 tsp (3g). The baking powder provides the initial lift, while the soda reacts with the acidic yogurt for a second burst of airiness. This duo is the secret to the “steaming heat” captured in professional photos.
Ground Cinnamon: 1 tsp (3g). We incorporate cinnamon into the batter and save some for the final dusting to create a cohesive flavor bridge. It reminds us of the warm spice profile found in classic cinnamon waffles.
Fine Sea Salt: 1/2 tsp (3g). Salt is a flavor enhancer that makes the vanilla and cinnamon pop against the sweetness of the maple syrup. Never skip the salt in sweet batters!
Essential Equipment for the Professional Home Chef
To achieve the visual blueprint of three thick waffles with deep ridges, you need the right tools. A Belgian Waffle Maker is non-negotiable for this recipe, as standard thin irons won’t produce the necessary air pockets.
You will also need a fine-mesh sieve for that “dusting” of cinnamon. This tool ensures the powder is distributed evenly rather than in clumps, which is vital for that unedited, authentic morning aesthetic. A high-quality wire whisk is also essential to incorporate air into the wet ingredients before they meet the dry ones.
Step-by-Step Instructions for Crispy Greek Yogurt Waffles
Preparing the Aerated Dry Base
In a large mixing bowl, whisk together the flour, baking powder, baking soda, cinnamon, and salt. Use a vigorous motion to ensure no clumps of leavening agent remain, which could cause uneven rising. This step ensures that every bite of your Greek Yogurt Waffles is consistently light and airy.
Emulsifying the Tangy Wet Ingredients
In a separate medium bowl, whisk the eggs until frothy, then stir in the thick Greek yogurt, milk, and melted butter. The mixture should be smooth and creamy, resembling a thick pale-yellow sauce. The scent of the yogurt should be fresh and slightly acidic, signaling it is ready to react with the soda.
The Folding Technique for Maximum Air Pockets
Make a well in the center of the dry ingredients and pour in the yogurt mixture. Use a silicone spatula to gently fold the ingredients together until just combined. Stop immediately when the flour streaks disappear; overmixing will destroy the air pockets and result in a chewy, tough waffle rather than a steaming, light one.
Achieving the Golden-Brown Toasted Edge
Preheat your Belgian waffle iron to its medium-high setting. Lightly brush the plates with oil or melted butter. Pour approximately 1/2 to 3/4 cup of batter onto the center and close the lid. Wait for the visual cue: when the steam stops escaping the sides, the interior is set and the exterior should be a deep golden-brown.
Expert Tips for Success with High-Protein Batters
- Temperature Control: Ensure your eggs and yogurt are at room temperature to prevent the melted butter from seizing and creating lumps in the batter.
- The Steam Cue: Never open the waffle iron before the steam significantly dissipates; doing so can tear the delicate airy interior.
- Rest the Batter: Let the batter sit for 5-10 minutes before cooking to allow the flour to hydrate fully, resulting in a more tender crumb.
- Preheat the Oven: If making a large batch for team breakfast recipes, keep finished waffles on a wire rack in a 200°F (95°C) oven to maintain their toasted crispness.
The Art of the Topping: Visual Execution
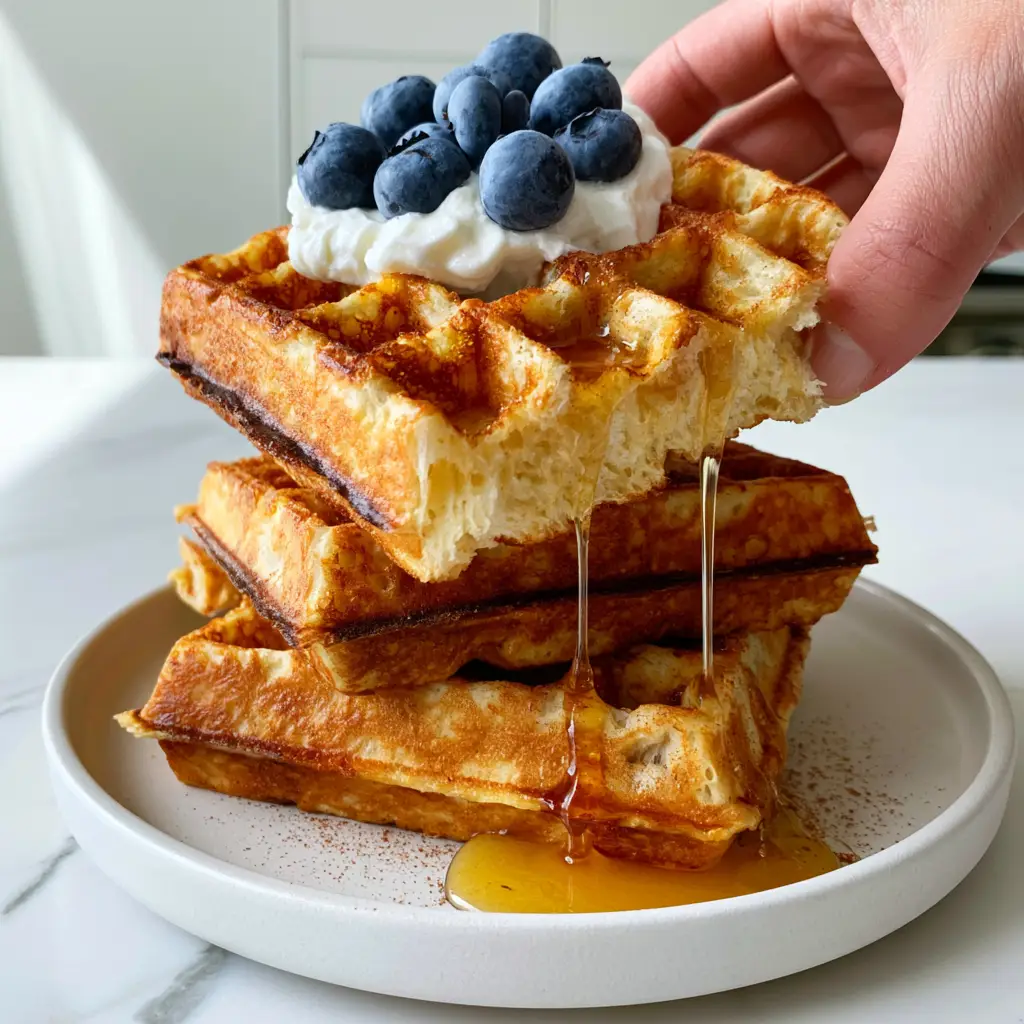
To match our visual blueprint, start by stacking three waffles on a white ceramic plate. Add a generous dollop of thick Greek yogurt—it should be cold to contrast with the steaming waffle. Scatter a handful of fresh, plump blueberries around the yogurt.
The “Viscous Amber Drizzle” is achieved by using 100% Grade A maple syrup. Pour it slowly from a height of about 6 inches, allowing it to pool in the ridges. Finally, use your fine-mesh sieve to add a light dusting of cinnamon powder across the top. The result should look like a handheld smartphone photo taken in bright morning light.
Storage, Reheating, and Make-Ahead Instructions
Greek Yogurt Waffles are surprisingly resilient and make for excellent leftovers. Store them in an airtight container in the refrigerator for up to 3 days. To maintain the crisp, toasted edges, avoid the microwave for reheating.
Instead, pop the cold waffles back into the toaster or a 350°F (175°C) oven for 5 minutes. This revives the “shatter” of the crust while keeping the inside fluffy. For long-term storage, flash-freeze the waffles on a baking sheet before transferring them to a freezer bag for up to 2 months.
What to Serve With Your Waffles
While these waffles are a meal on their own, they pair beautifully with other breakfast staples. For a savory contrast, consider serving them alongside mediterranean baked feta eggs or even a side of crispy bacon. If you are hosting a larger brunch, these waffles fit perfectly next to breakfast roll ups for a variety of textures and flavors.
Frequently Asked Questions
You can mix the dry and wet ingredients separately the night before, but don’t combine them until you’re ready to cook. The baking soda reacts immediately with the yogurt acidity and loses its lift over time.
Yes, but for the most ‘airy interior’ and rich flavor shown in the photos, we recommend full-fat or 2% Greek yogurt. The fat helps achieve the crisp, toasted edges.
Use a fine-mesh sieve or a small sifter. Holding it high above the plate ensures the cinnamon falls evenly like snow rather than in heavy clumps.
Let the waffles cool completely on a wire rack to prevent sogginess, then freeze them in a single layer on a baking sheet before moving to a freezer-safe bag for up to 2 months.
Chewiness usually results from overmixing the batter, which develops too much gluten. Fold the wet and dry ingredients until just combined to keep the air pockets intact.
The Ultimate Greek Yogurt Waffles Recipe Card
Greek Yogurt Waffles: The Secret to Crispy, Airy, and Protein-Packed Breakfasts
Ingredients
Equipment
Method
- In a large bowl, whisk together the flour, baking powder, baking soda, cinnamon, and salt until aerated and clump-free.
- In a separate bowl, whisk the eggs, then fold in the Greek yogurt, milk, and melted butter until smooth.
- Gently fold the wet ingredients into the dry until just combined, ensuring you don't overmix and deflate the air pockets.
- Pour batter into a preheated Belgian waffle iron. Cook until the exterior is golden-brown and toasted, and steam stops escaping.
- Stack waffles and top with a dollop of Greek yogurt, fresh blueberries, a syrup drizzle, and a dusting of cinnamon.
Notes
Use a wire rack to keep waffles crisp while cooking the rest of the batch.
Closing & Call to Action
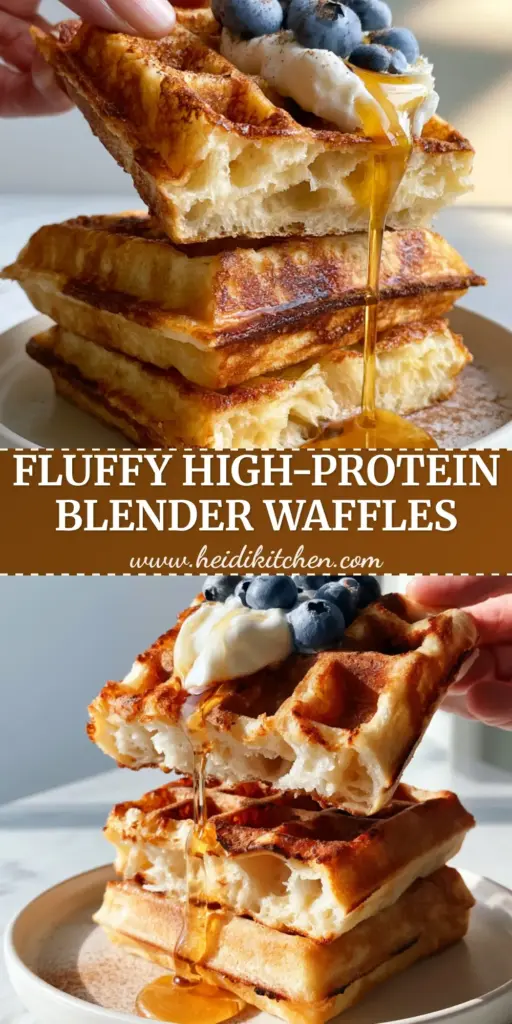
Mastering the Greek Yogurt Waffles recipe is a gateway to elevating your entire breakfast game. The combination of high-protein yogurt and scientifically-backed technique ensures a result that is as visually stunning as it is delicious. We invite you to try this recipe this weekend and experience the “steaming air pockets” for yourself!
Did you achieve that perfect golden-brown crust? Let us know in the comments below or share your breakfast creations with us on Pinterest. Don’t forget to sign up for our newsletter for more culinary forensics and SEO-optimized kitchen secrets!